27
Windows Movie Maker is a free video-editing tool included with Microsoft Windows XP.
Look for it in your Programs under “Windows Movie Maker.” With Movie Maker, you can
turn your home movies into awesome videos that you can share across the Internet, or
burn to a CD or DVD.
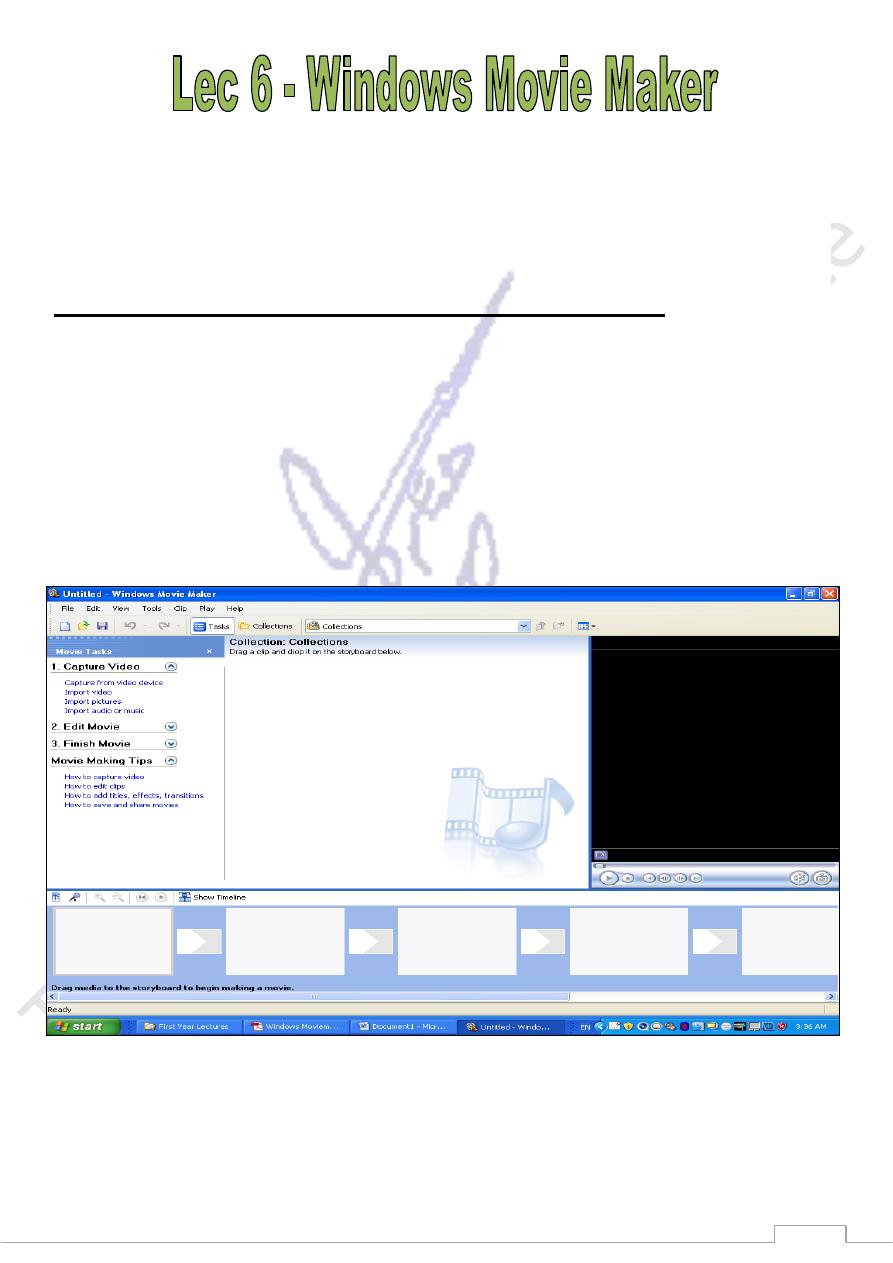
This is your movie making and editing screen in Windows xp:
1. Import photos, videos, and music by clicking on the “Import…
o “From digital video camera” (from camera connected to your computer or card
reader/memory
card connected to your computer)
o “Videos” (from files already on your computer),
o “Pictures” (photos already on your computer or from memory card)
o “Audio or Music” (from files previously recorded on your computer).
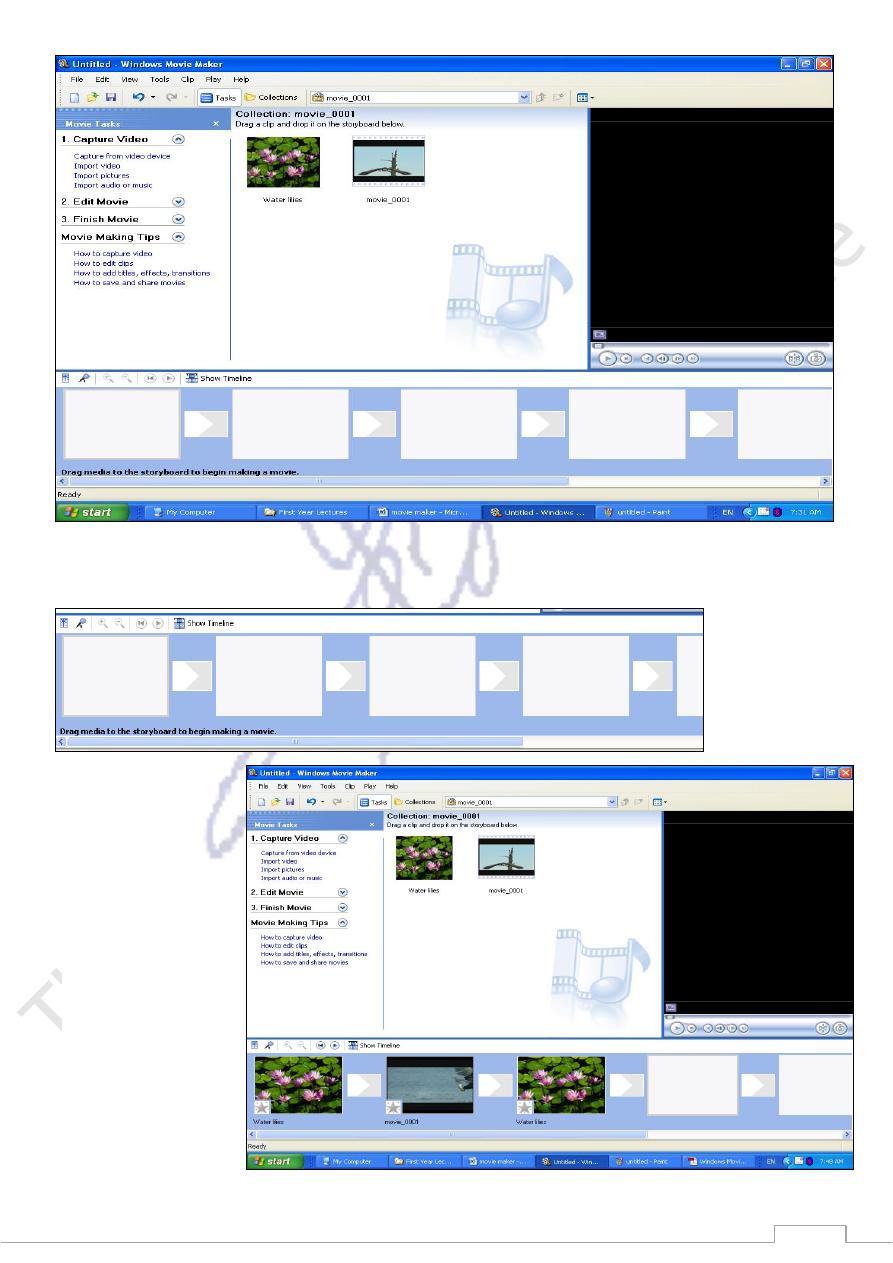
After you have imported a photo or two (from your “Pictures” or “My Pictures” files, and
imported a video or two (from your “Videos” or “My Videos” files), your workspace will look
like this:
28
2. Next, switch to “Timeline” view in the bottom of your work area looks like this:
3. Start dragging
photos and videos
onto the timeline,
using your mouse to
click and drag from
imported items at
the top of your work
area down onto the
timeline. Notice that
the video takes a
longer space on the
timeline.
The timeline will be
like this:
29
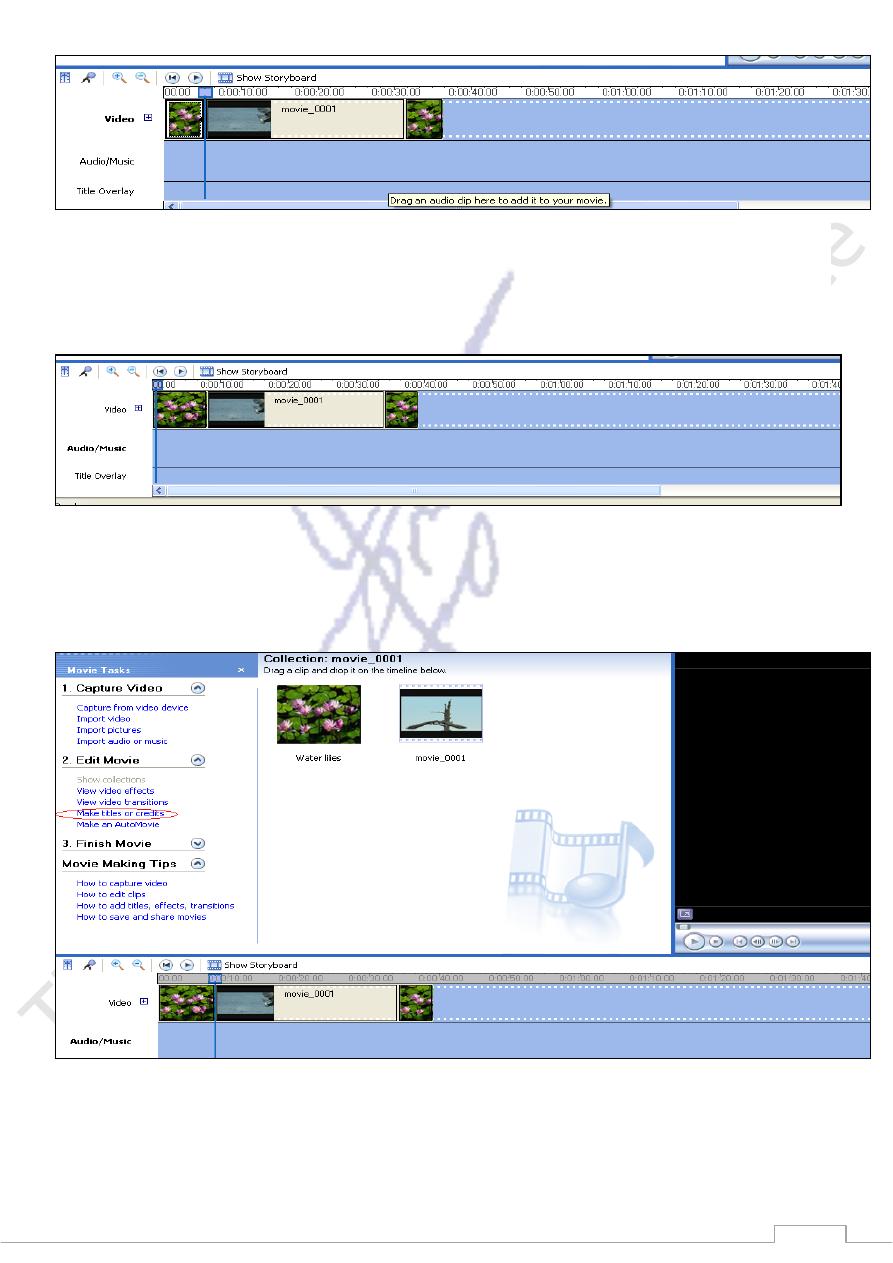
4. You can also drag on the right-hand side of any photo to make it display for a longer time
on your movie. Here, I’ve dragged on the first photo to make it last for 8 seconds instead of
the default 5 seconds.
5. Add titles on photos and videos as desired. Click on the photo/video on the timeline,
then click on “Edit...Titles and Credits” on the task pane. Choose whether the title is to
appear before the photo/video or on it.
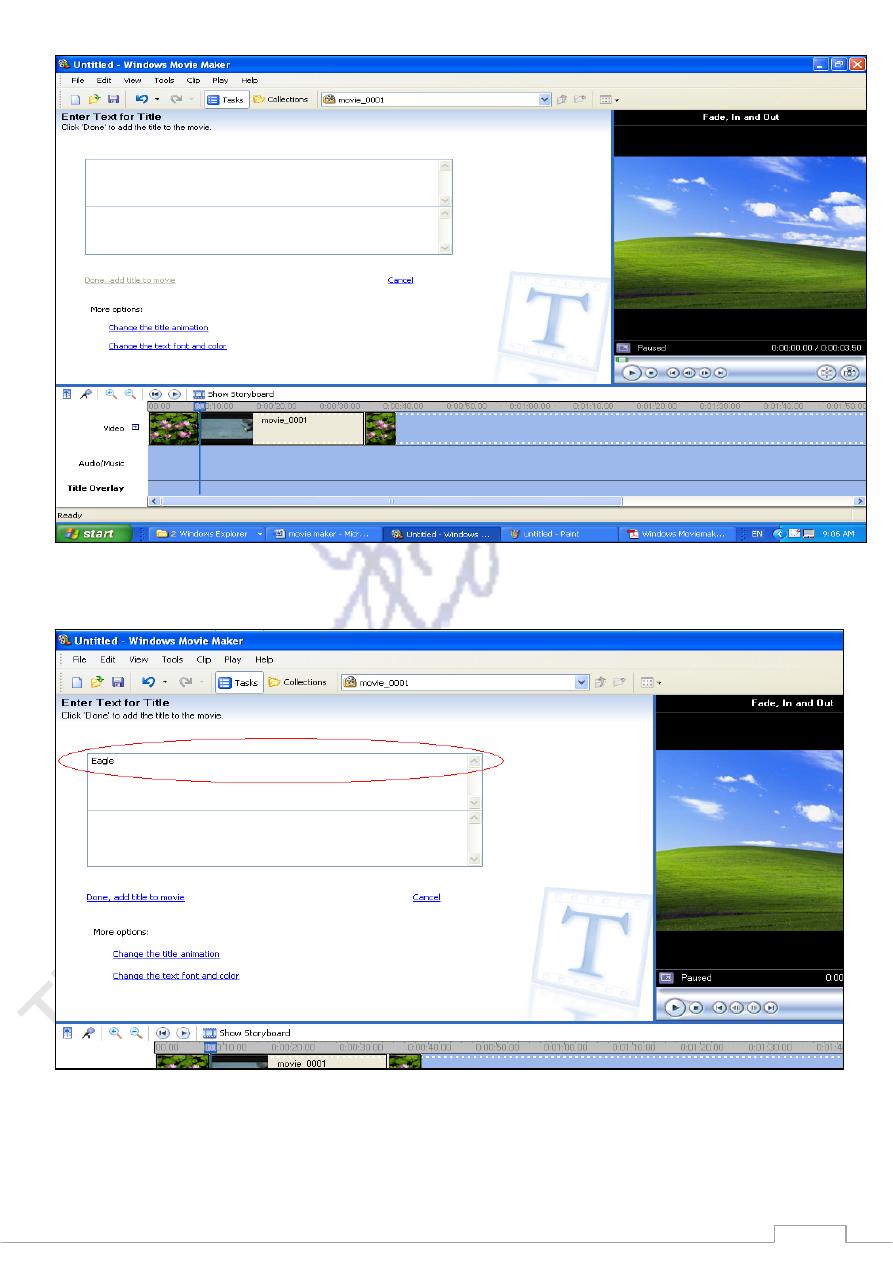
When you choose to put a title on a photo/video, you get a screen like this:
31
Type in the title words you want. (your words will be on your photo/video).
Preview at any time by dragging it on the title overlay bar
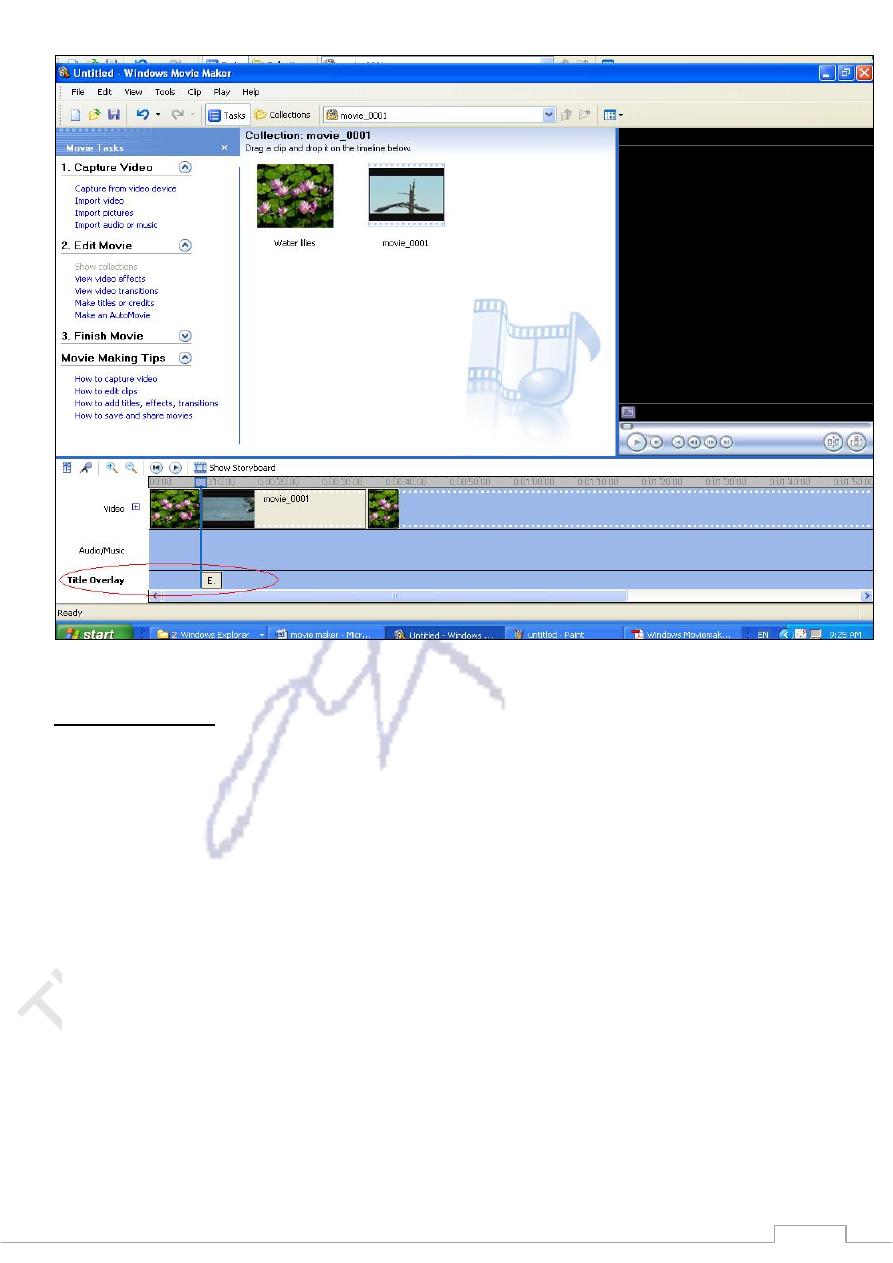
31
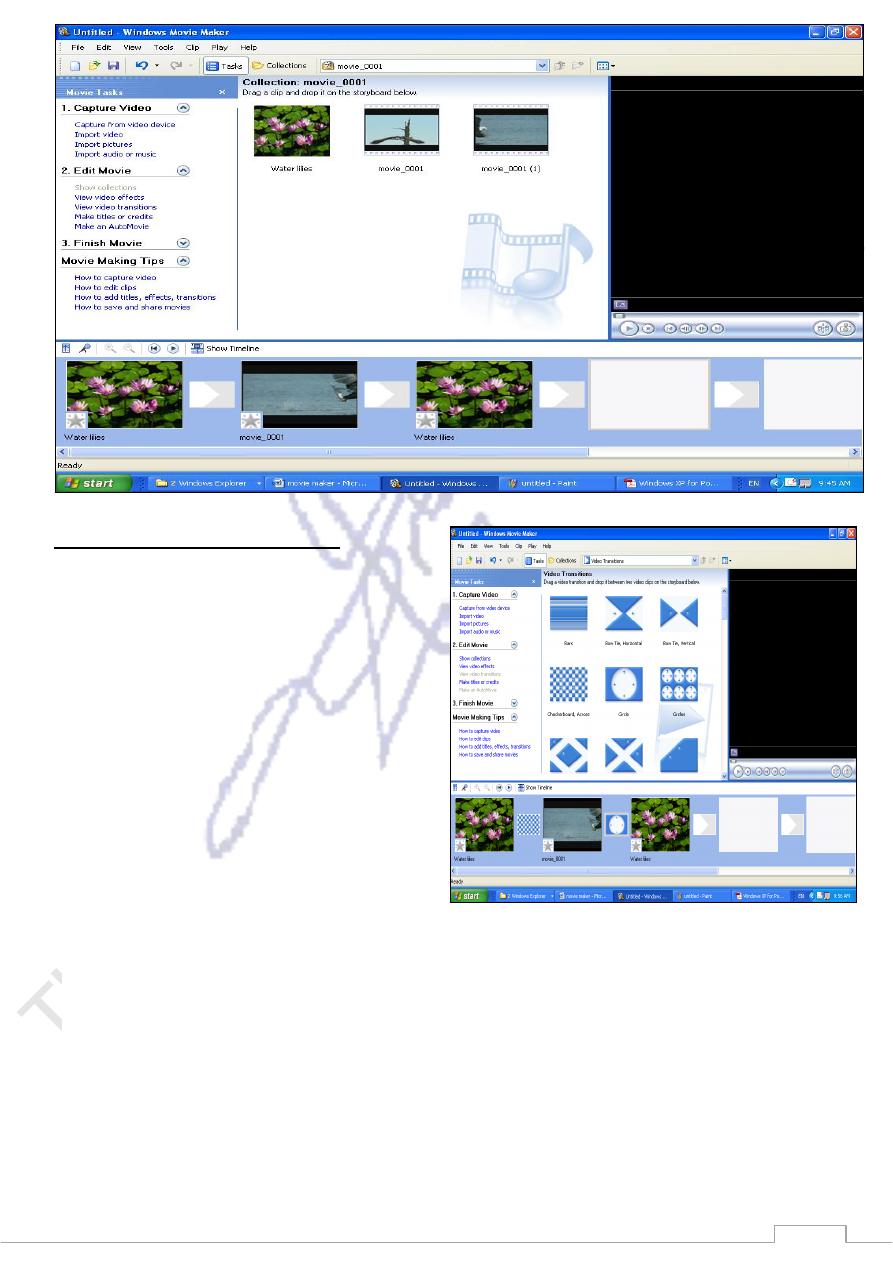
SPLITTING CLIPS
Windows Movie Maker creates clips for you; however, you may need to split those clips
into more manageable pieces. You can perform this function by using the split command.
The following easy steps show you how:
1. Select the clip that you want to split in the Collections area.
2. In the Monitor area, click the Play button.
3. When the clip reaches the point at which you want to split it, click the
Split Clip button in the Monitor area. You can also click the Clip menu
and click Split, or simply press Ctrl+Shift+S on your keyboard. In the
Collections area, the clip is split in two—the first part of the clip retains
its original name, while the second clip contains the original name followed
by (1), as shown in Figure
32
Using Transitions and Effects
Transitions are graphical effects that are
used to move from one movie clip to the
next. Windows Movie Maker provides
several transitions that you can use and you
can get more transitions by installing the
Windows Plus! pack.
* You can easily create transitions by using
the Workspace. Follow these steps:
1. In the Workspace, make certain that the
storyboard view is enabled.
2. Click Tools→Video Transitions. The
available transitions appear in the
middle portion of the top pane.
3. Drag the desired transition to the transition box on the storyboard. The
transition boxes appear between each clip.
4. After you drag the transitions to the storyboard, you see an icon for each
of them between each clip, as shown in following figure. Press Play in the
Monitor to see your movie play with the transitions.
* Finally you can save your movie maker project as a movie file using Ctrl+P and choosing
the place of saving the file.