69
Blank and recent. Lets you create either a blank presentation or a presentation based on one of the
themes or templates you recently applied to a PowerPoint presentation.
Installed Templates. Lets you create a presentation based on one of the handful of generic templates
that comes with PowerPoint, such as Classic Photo Album or Corporate Presentation.
Installed Themes. Lets you create a presentation based on one of the canned look and feel options
that comes with PowerPoint, such as Apex, Metro, or Opulent.
My templates. Lets you create a presentation based on a template that you created, or that you
downloaded from the Web.
Creating a New Presentation from Scratch
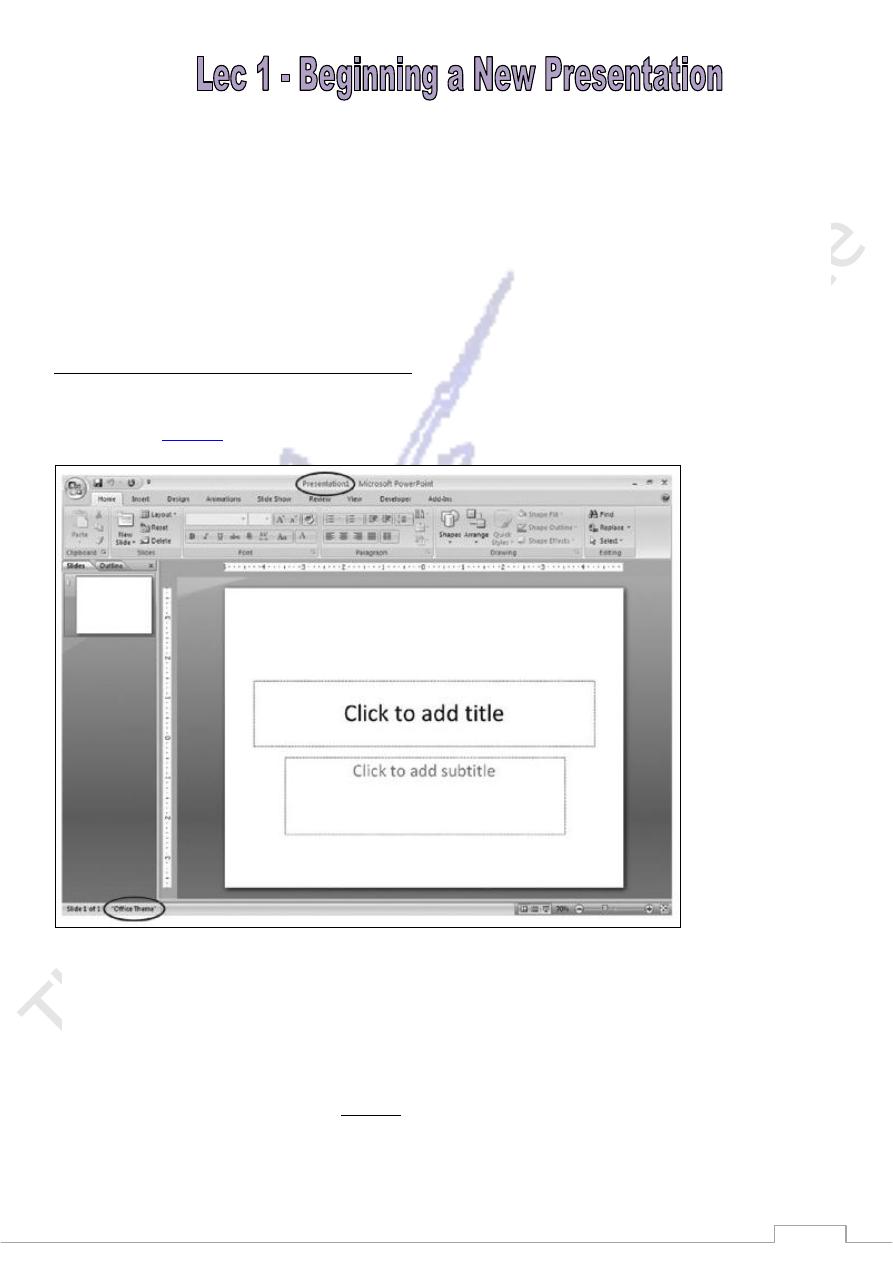
When you launch PowerPoint, the program starts you off with a brand-new presentation cleverly named
Presentation1 (
Figure 1
).
But pull it they did, leaving you just two options for creating a new presentation: from scratch, or from an existing
template, theme, or presentation
.
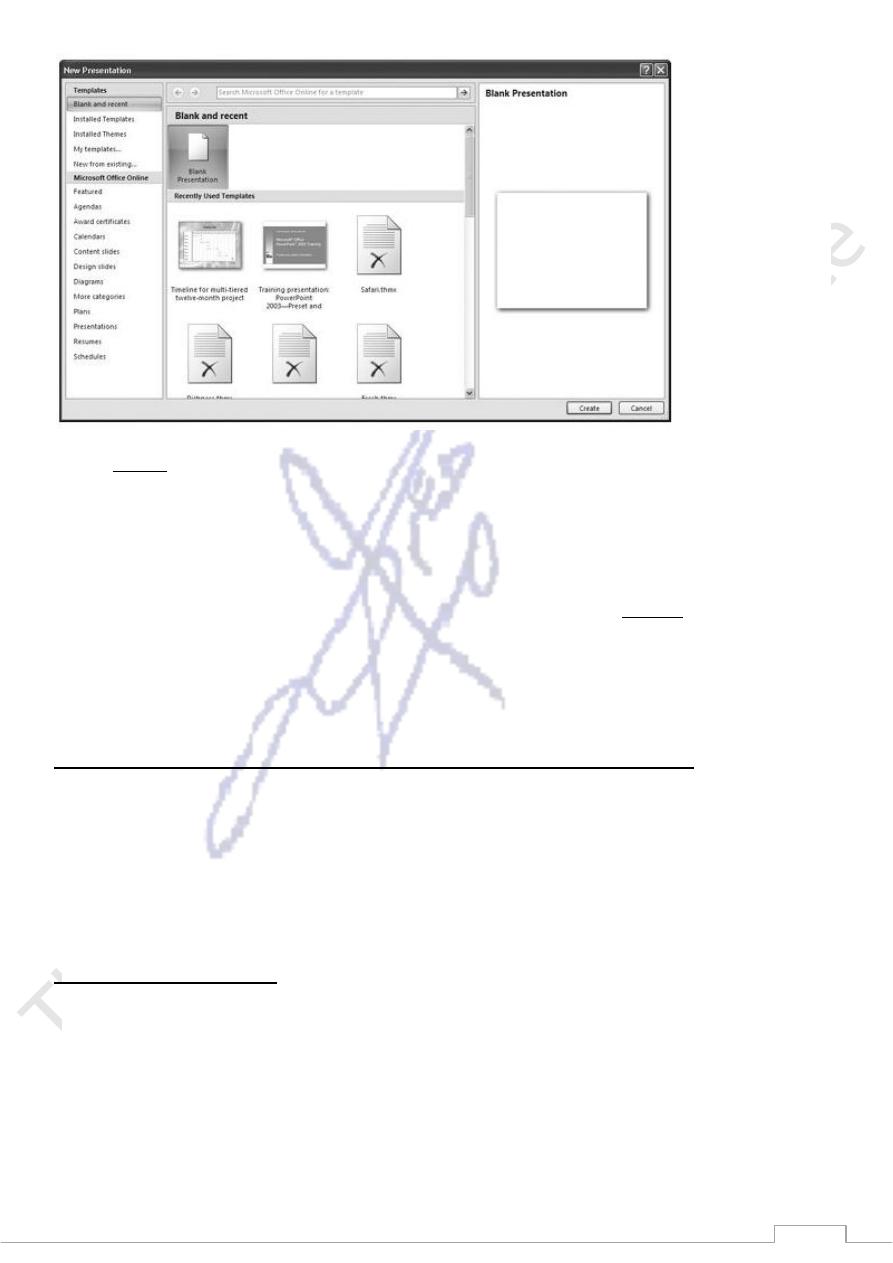
1. Select Office button →New.
The New Presentation window (Figure 2) appears.
71
(Figure 2)
1. On the left side of the New Presentation window, make sure the "Blank and recent" option is
selected.
If it's not, click it to select it.
2. In the New Presentation window, double-click Blank Presentation (see Figure 2). Or you can click
Blank Presentation and then click Create.
Either way, a new blank presentation named Presentation2 (or Presentation3, or Presentation4
depending on how many new presentations you've created since you launched the program) appears
in your PowerPoint workspace.
Creating a Presentation from an Existing Template, Theme, or Presentation
PowerPoint lets you get a jump on your new presentation by starting with an existing template, theme, or
presentation and then filling in your content. You can choose from the many templates and themes that come
with PowerPoint, or you can go online and search for a specific template or theme that matches your needs.
You can also reuse any of the templates, themes, or presentations that you (or your co-workers) have
previously created. The following sections describe each of your options.
From an existing template
A template is a generic presentation designed (by Microsoft, by a third-party vendor, by you, or by whoever
created the template) to be used again and again. Templates help you crank out presentations quickly,
because all the design work has been done for you. All you have to do is add your content: the text, charts,
graphics, and other elements that convey your particular message.
Templates vary widely, but all contain predefined themes (color schemes, background images, title and
bullet point layouts, and text fonts). Some templates contain additional format and design elements and even
some generic or placeholder content. Some templates are businesslike, with sober colors and artwork; some
are whimsical, with wacky fonts and brightly colored balloons all over the place. The template motifs you
71
can find are nearly endless, which makes it relatively easy to choose a template that fits the mood and
structure you want to create for your presentation.
1. Select Office button
→
New.
The New Presentation window appears.
2. In the left side of the New Presentation window, make sure the "Blank and recent" option is selected.
(If it's not, click to select it.)
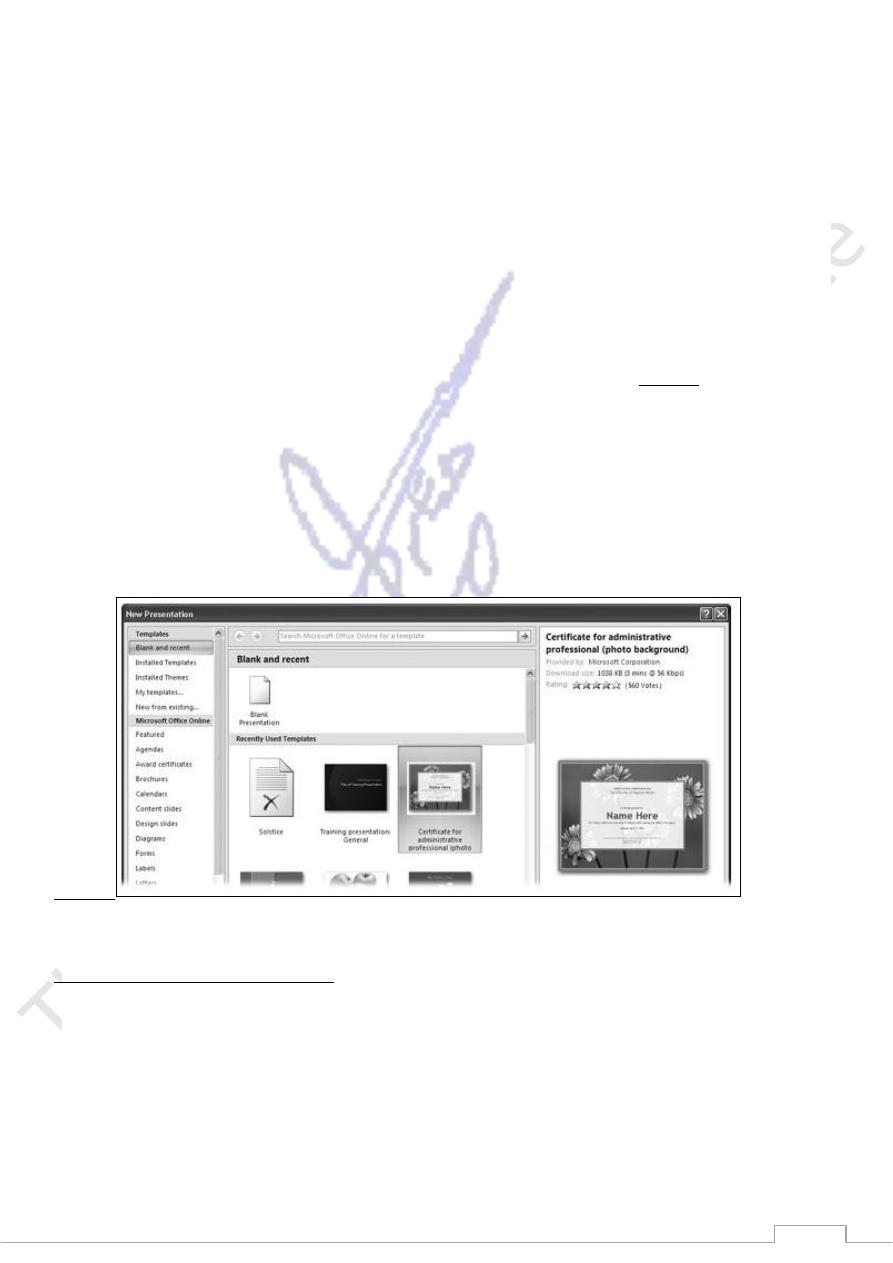
3. In the middle of the New Presentation window, scroll through the template thumbnails.
4. Click to select the template you want to base your new presentation on.
In the right side of the New Presentation window, a preview appears (see Figure 3). Depending on
whether the selected template is stored on your computer or on Microsoft's Web server, PowerPoint
displays a Create or Download button, respectively, at the bottom of the New Presentation window.
5. Click Create (or Download).
The New Presentation window disappears. (If you clicked Download, then a Downloading Template
message flashes briefly on the screen.) PowerPoint then loads the selected template into a new
presentation it names Presentation1 (or Presentation2, or Presentation3, depending on how many
presentations you've created since you launched PowerPoint).
Figure 3
From an existing (built-in) theme
If you know which theme you want to apply to the new presentation you're creating, then you can save a
click or two by applying it when you create the presentation file.
To create a new presentation based on one of the themes that comes with PowerPoint:
1. Select Office button →New.
The New Presentation window appears.
72
2. On the left side of the New Presentation window, click Installed Themes.
Several theme thumbnails appear in the middle of the New Presentation window.
3. Click a theme to select it.
A larger version of the theme appears in the preview area (the right side) of the New Presentation
window.
4. Click Create.
The New Presentation window disappears and you see a new presentation based on the theme you
selected.
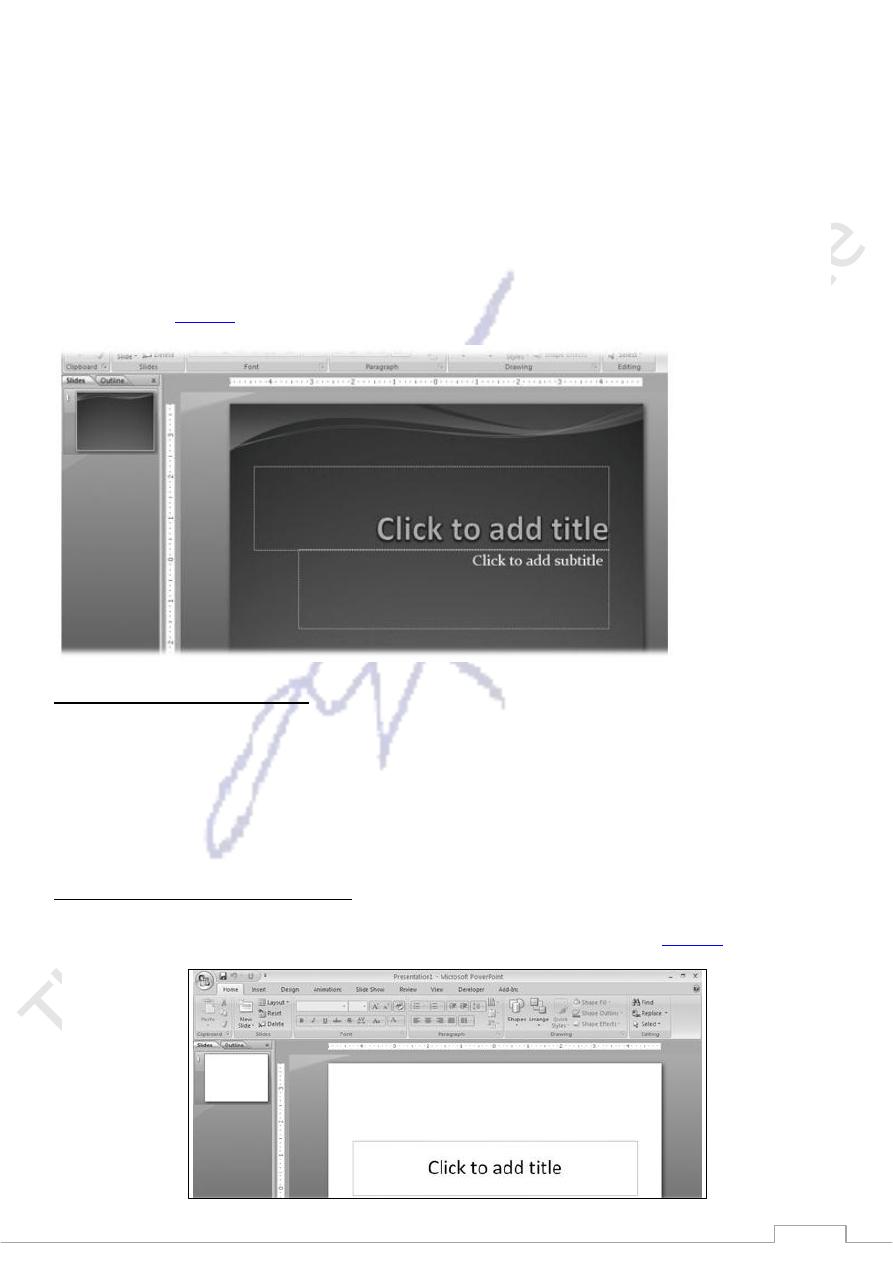
Figure 4
shows you an example.
From an existing presentation
If you've already got a presentation on your computer created in any version of Power Point then you can
load that presentation into PowerPoint 2007 and use it as the basis of a new presentation.
You've got two options for loading an existing presentation: the Existing Presentation window, which is a
good choice if you've never used PowerPoint before; and the Open window, which is handy if you're
familiar with PowerPoint.
Adding Text to an Existing Text Box
When you start to work with a new presentation, the ribbon displays the Home tab, (
Figure 5
).
73
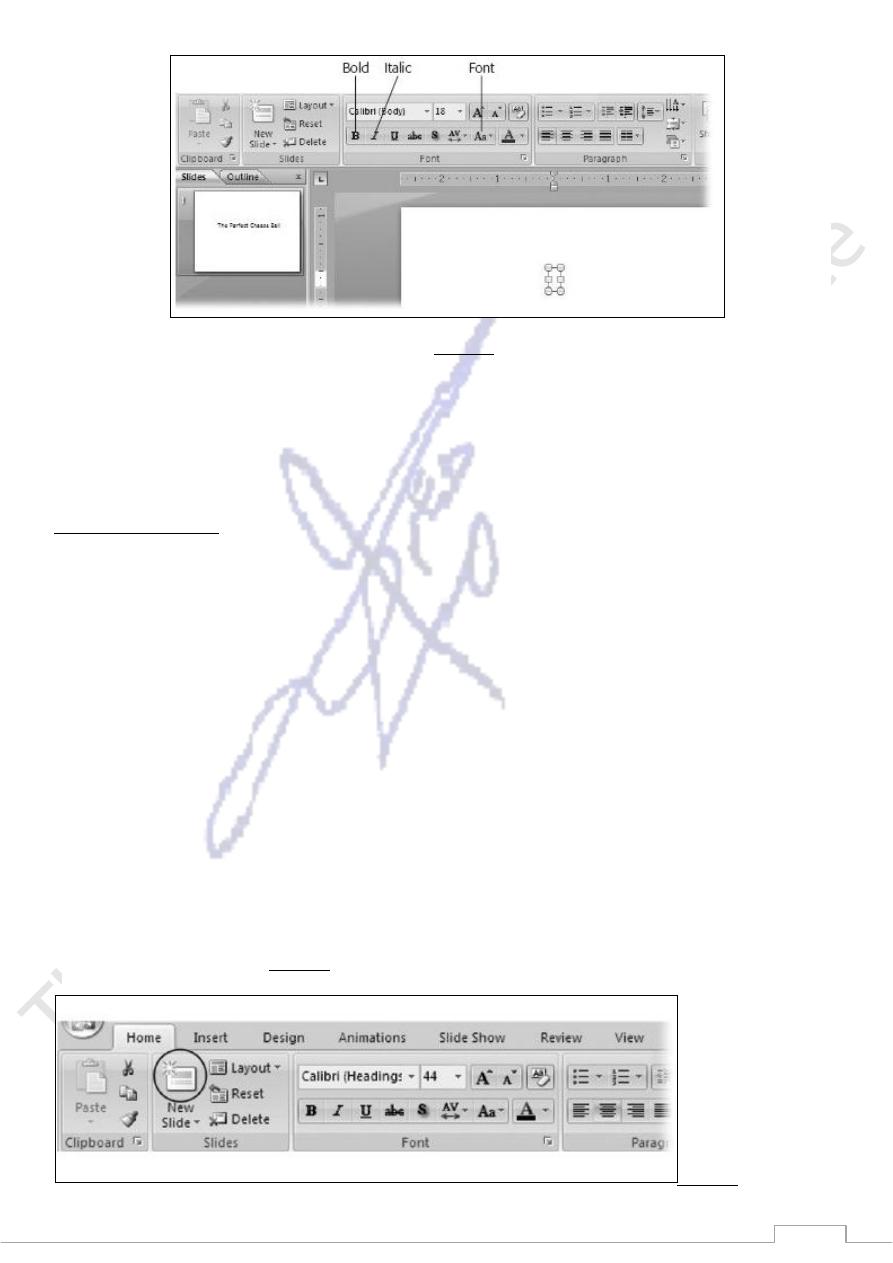
PowerPoint displays the Drawing Tools | Format tab and, on the Home ribbon, activates many of the
text formatting options (Figure6). You can use these options to change the font, size, and color of
your text, turn your text into a right-justified paragraph or a bullet point, and much more
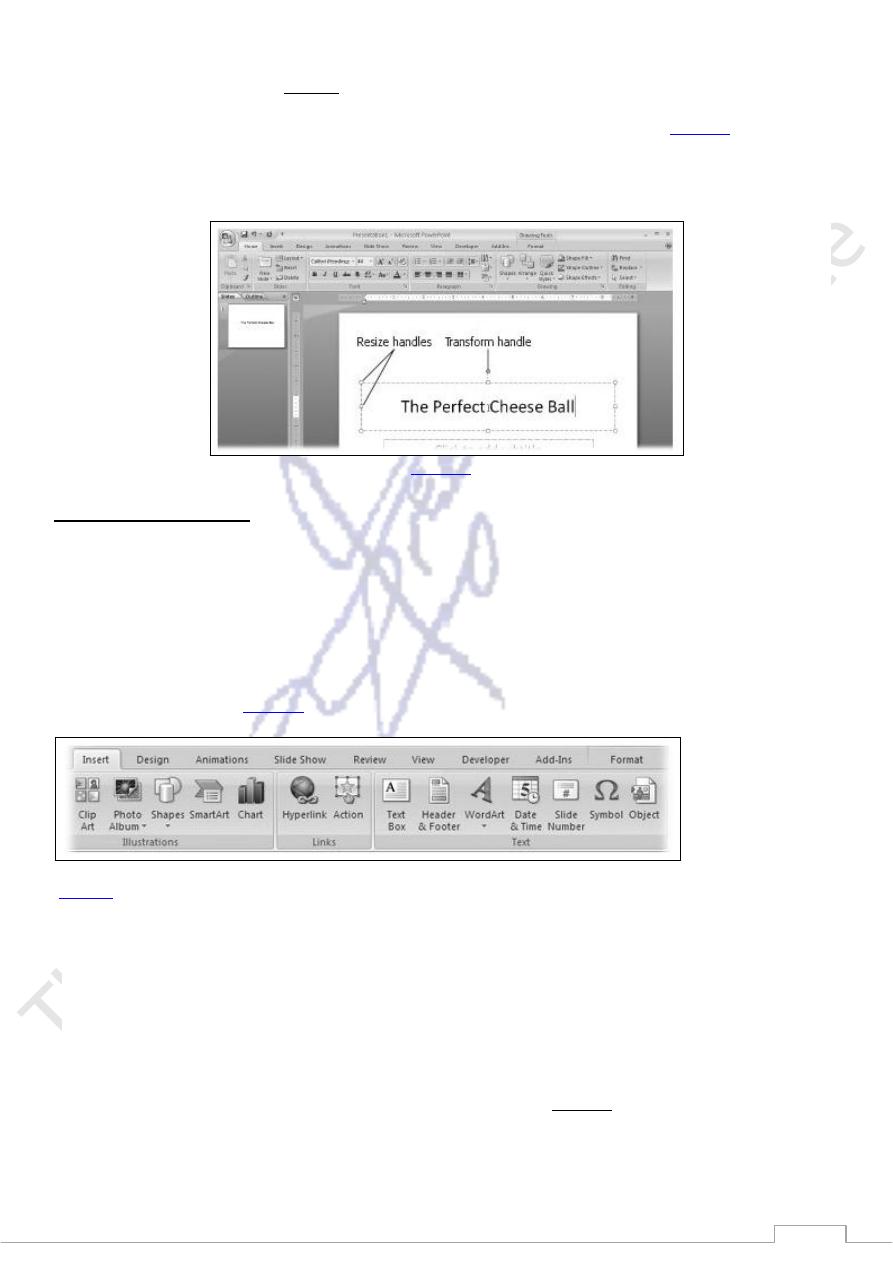
Resize and transform handles appear at the corners and edges of the text box (
Figure 6
). Tiny white
resize handles, which are square on the edges of the text box and circular on the corners, let you
stretch or shrink your text box by dragging them. The circular green transform handle appears above
the top of your text box and lets you tilt it. Drag the handles to tilt or resize your text box.
Figure 6
).
Adding a New Text Box
You're not limited to the place holder text boxes PowerPoint starts you off with: you can add as many
additional text boxes to your slides as you like
To add a new text box to a slide:
1. Click the Insert tab.
The Insert ribbon (
Figure 7
) appears.
(
Figure 7
)
2. On the Insert ribbon, click Text Box.
In the status bar at the bottom of the screen, PowerPoint displays a helpful hint ("Click and drag to
insert a text box"). When you mouse over your slide, you notice that your cursor looks like a tiny
down arrow.
3. On the slide, click where you want your new text box to appear.
A text box appears with the cursor handily positioned inside (Figure 8). The Drawing Tools | Format
tab pops up, and on the Home ribbon, PowerPoint activates most of the formatting options, ready for
you to format your text.
74
(Figure 8).
4. Type your text.
The text box expands automatically to accommodate your text.
Adding More Slides
When you create a new blank presentation, PowerPoint spots you one slide. But in most cases, you'll want
your presentation to contain a lot more slides than that. Fortunately, adding a new slide is easy, as you'll see
in the following sections.
PowerPoint gives you two options: adding a slide with layout identical to the current slide, and specifying a
different slide layout. A slide layout is a description of what content appears where on a slide. For example,
applying a Title Slide layout to a slide positions title and subtitle text placeholders near the middle of your
slide, and nothing else. Applying a Title and Content layout positions a title text placeholder near the top of
a slide, and an object placeholder beneath that.
To add a slide with a layout identical to the current slide:
1. Select any non-title slide.
PowerPoint doesn't automatically duplicate title slides for a pretty obvious reason: 99 percent of the
time, you don't want two title slides in a single presentation.
2. Click the Home tab.
The ribbon you see in Figure 9 appears.
Figure 9
75
3. Click the New Slide button.
PowerPoint inserts a new slide after the current slide. If that's not what you want (for example, if you
want to add a slide to the beginning of your presentation), then you can easily change the order of
your slides. Page 146 shows you how.
To add a slide with a different layout:
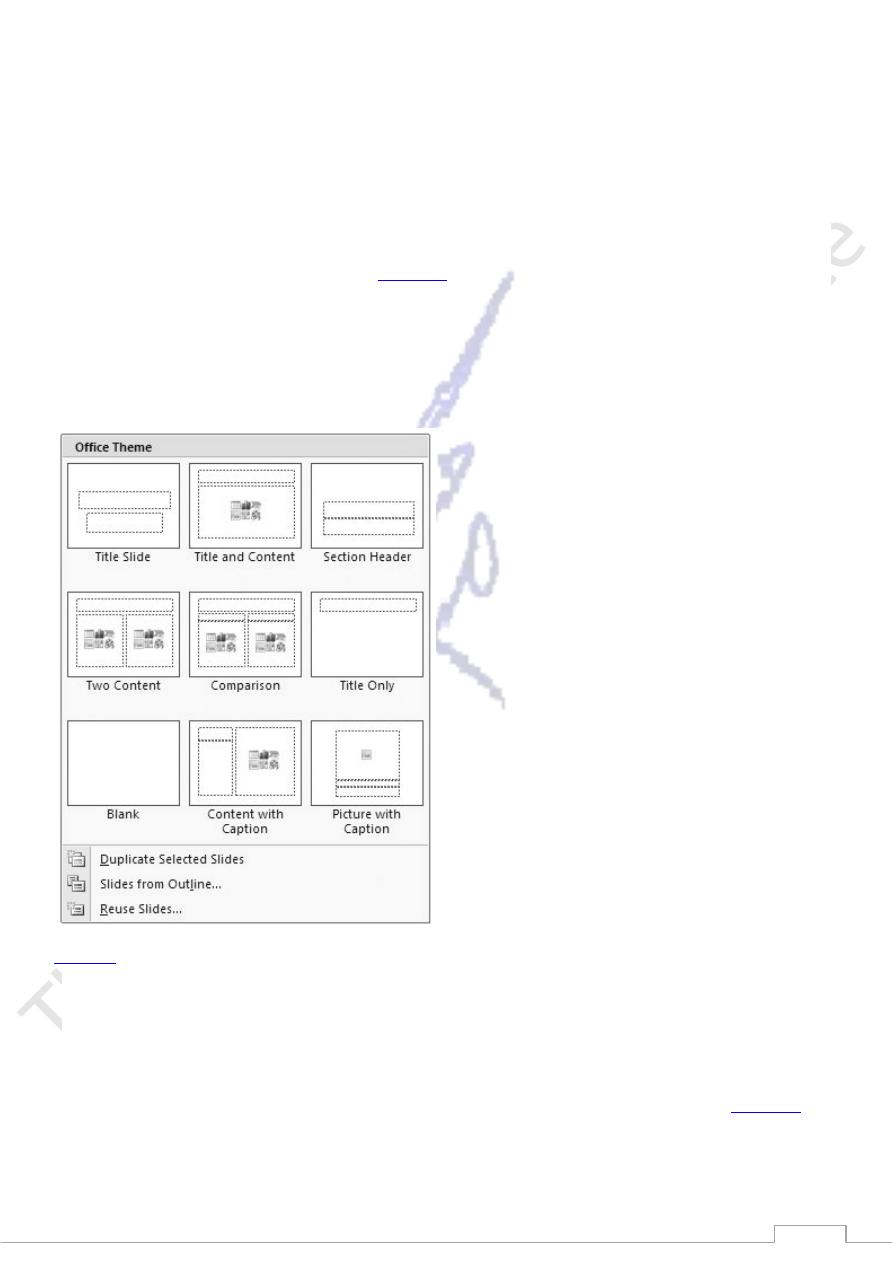
1. On the Home ribbon, click the down-arrow next to New Slide.
A menu similar to the one you see in
Figure 10
appears.
2. Click to select the slide layout you want. Your choices include Title Slide, Title and Content, Section
Header, Two Content, Comparison, Title Only, Blank, Content with Caption, and Picture with
Caption.
PowerPoint adds your new slide after the current slide.
Figure 10
Navigating with the Slides and Outline Tabs
Slides and Outline tabs are not views (they both appear in Normal view) but are tabs that let you see slide
thumbnails or an outline of your slideshow, respectively, in the Slides (Figure 11) or Outline (
Figure 12
)
pane.
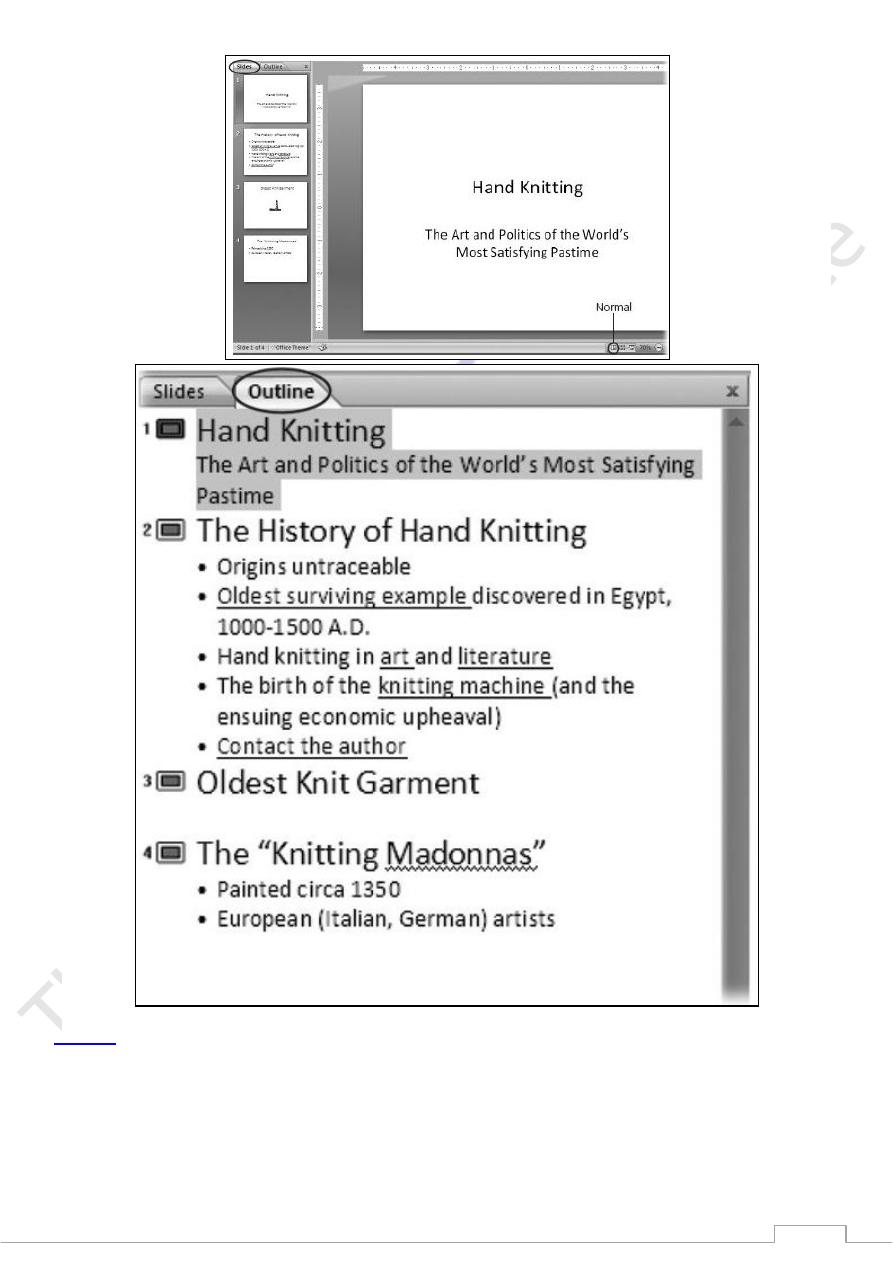
76
Figure 12
)
)