


Try in and cementation of crown and bridge
معالجة \ اسنان خامسد. احمد جواد (م5)
15\12\2016
When the laboratory procedures have been completed the restoration is ready to be evaluated in the patient’s mouth before final finishing and cementation.
Try in procedure:
The recommended sequence for try in of crown or bridge is as follows:1. Proximal contacts.
2. Marginal integrity.
3. Stability.
4. Occlusion.
5. Characterization and glazing.
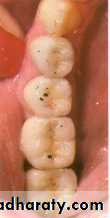
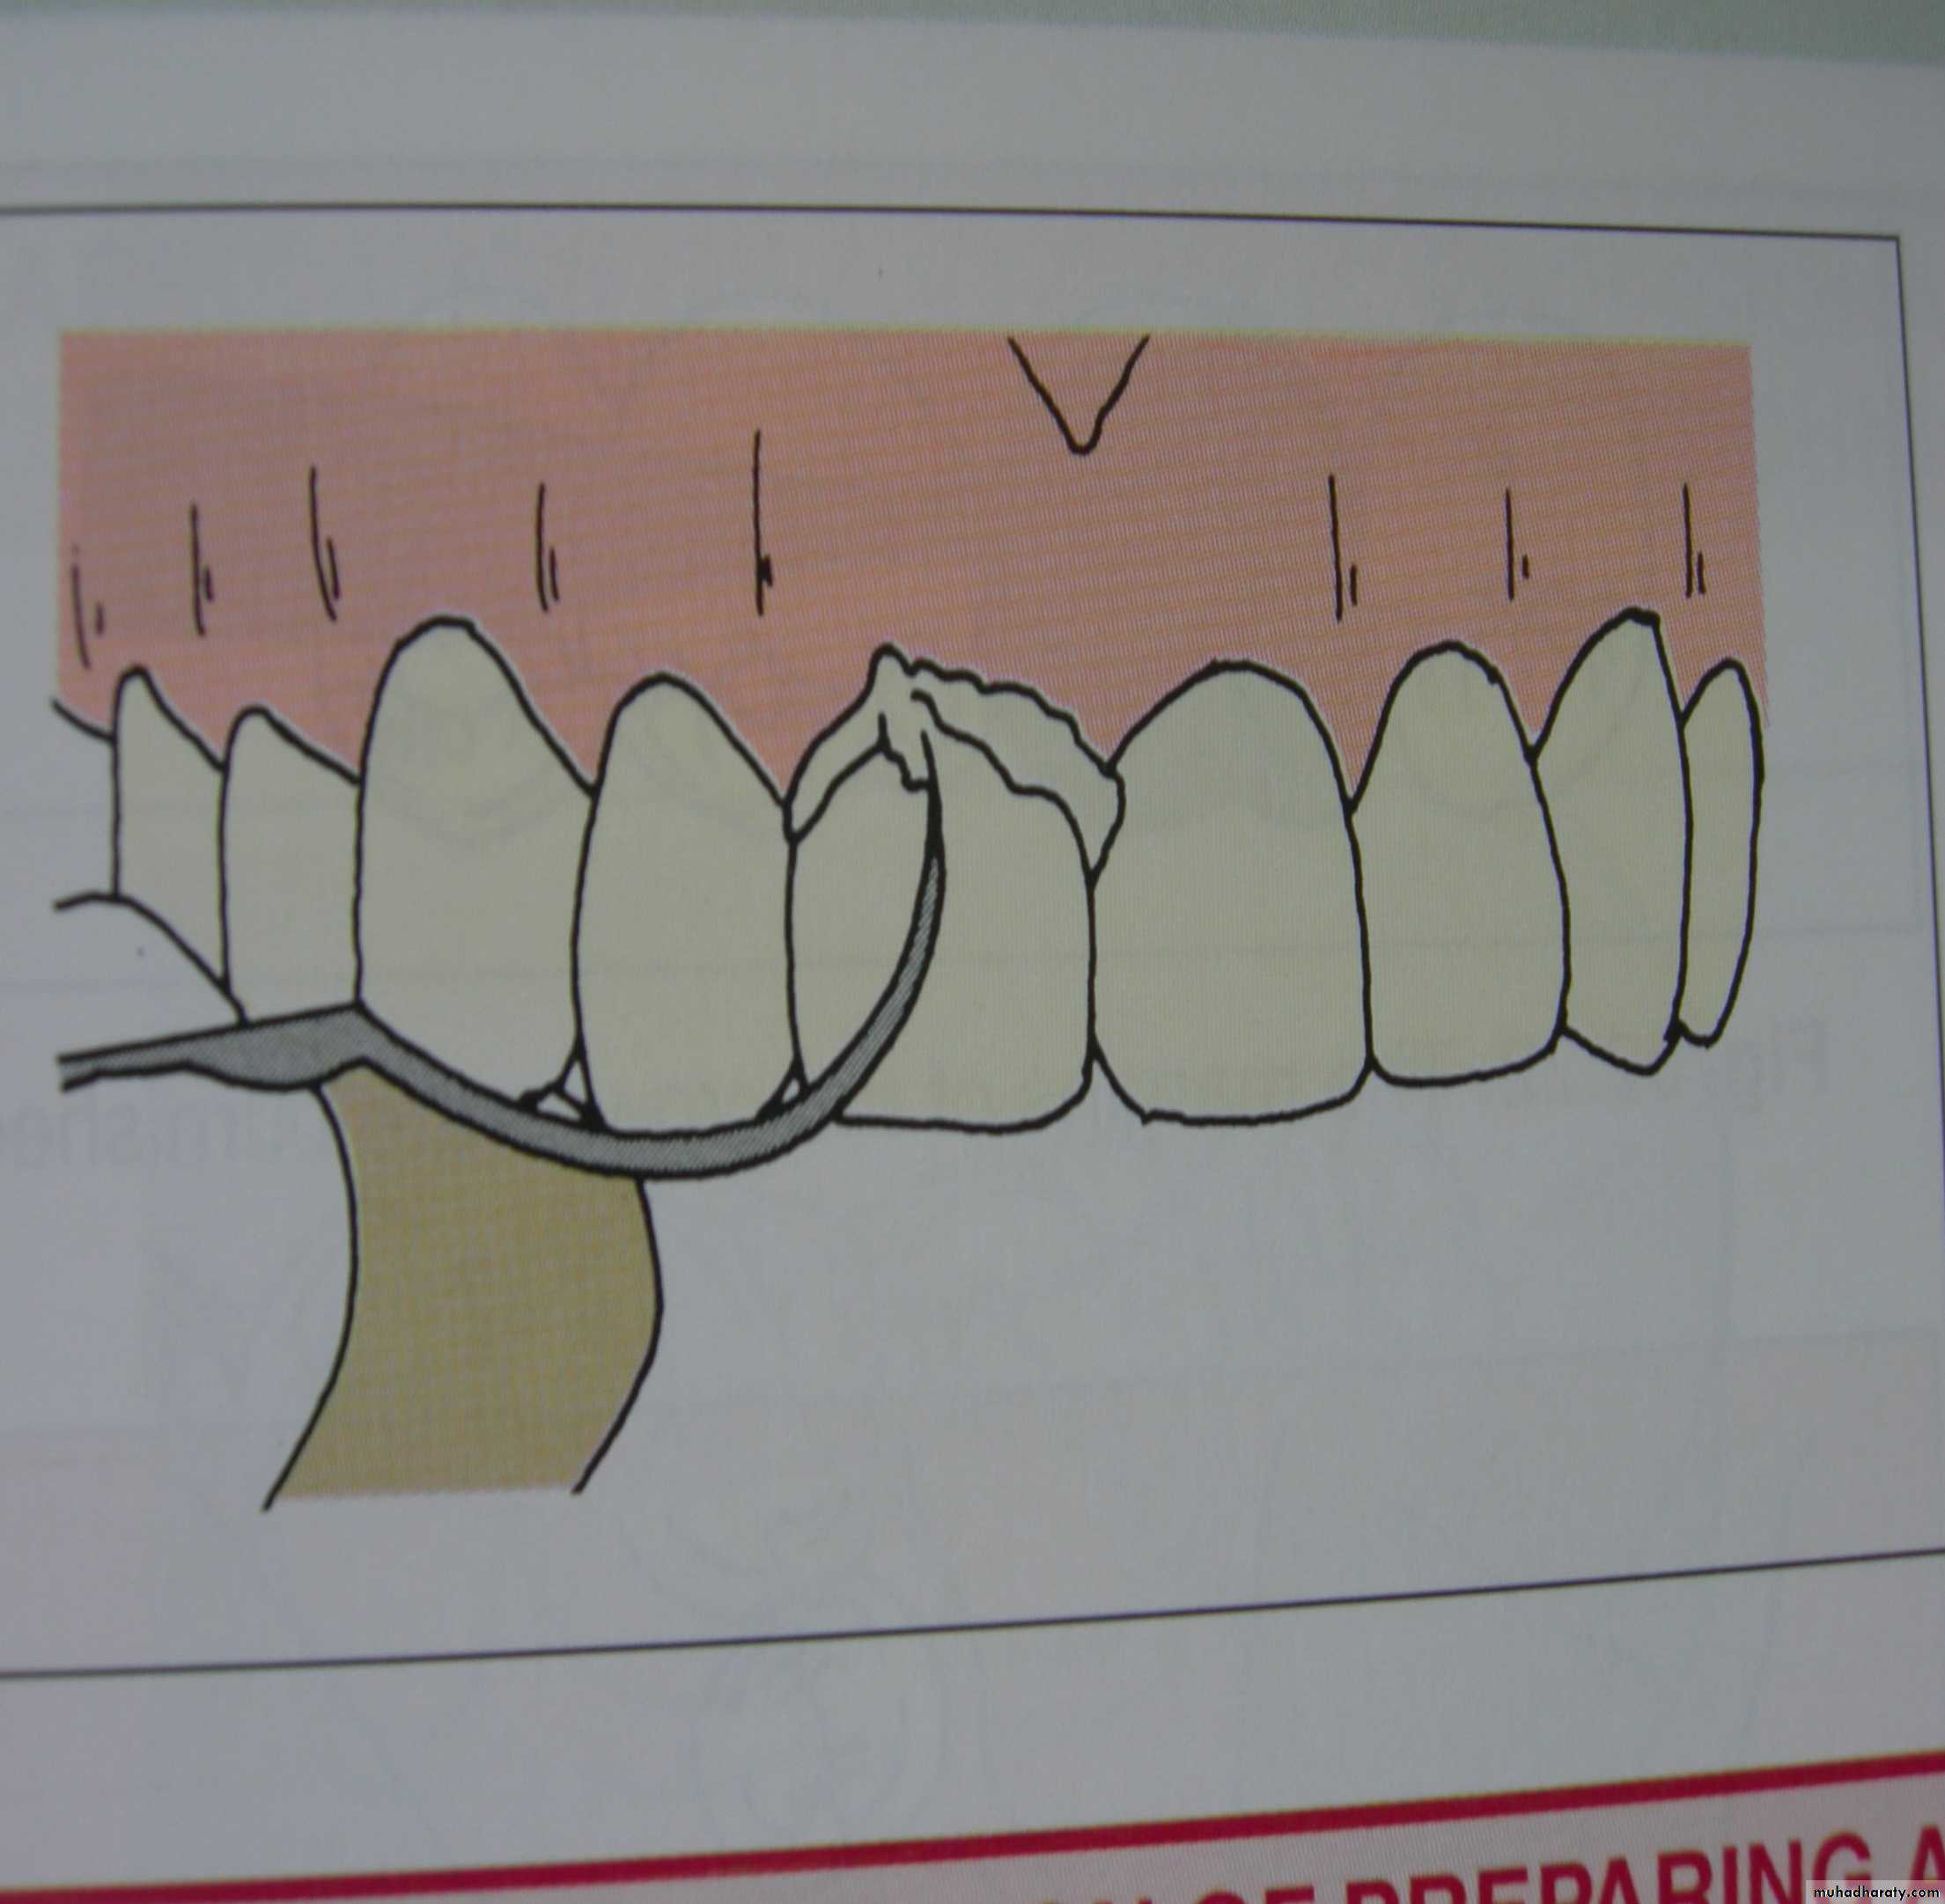
1-Proximal Contact:
The restoration is placed on the tooth and seated with finger pressure, occlusal pressure (bite) should not be used because forcing the restoration onto the tooth at this time may make it extremely difficult to remove.If both proximal contacts feel too tight, the tighter contact should be adjusted first. Some times this will relieve the pressure on the second contact, precluding the need for its adjustment.
A thin coating of a pressure indicator such as occlude (pascal) can be applied to the prosthesis before seating to reveal the exact location of the contact, red pencil or thin marking tape also can be applied.
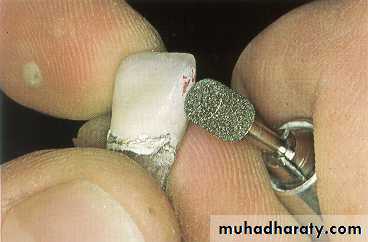
A tight proximal contact in unglazed porcelain is easily adjusted with a cylindrical stone.
While tight proximal contact of base metal is adjusted using blue wheel.
After the proximal contacts have been corrected the restoration is seated and the margins are examined closely. An acceptable margin is not overextended, under extended, too thick, or open.
A margin is generally considered to be open if the gap is greater than 50 µm which means the tip of a sharp explorer can be inserted between the restoration and tooth.
A restoration that rocks perceptibly on the tooth can not have closed margins on both sides at once.
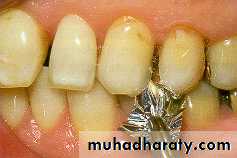
2- Marginal adaptation
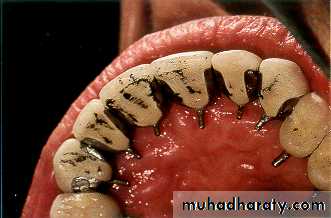
Poor marginal adaptation results in:Cement dissolution
Plaque retention
Recurrent caries
Subgingival defective margins compromise the gingival health by an alteration in local bacteria
Poor fit can present as a gap or an overhanging margin (positive ledge) or deficient margin (negative ledge).
Overextended margins and positive ledges may be corrected by adjusting the crown from its axial surface until it is possible to pass a probe from tooth to crown without it catching.
A larger problem, necessitating that the crown be remade if it is unacceptable, occurs when a margin remains deficient or has a negative ledge.
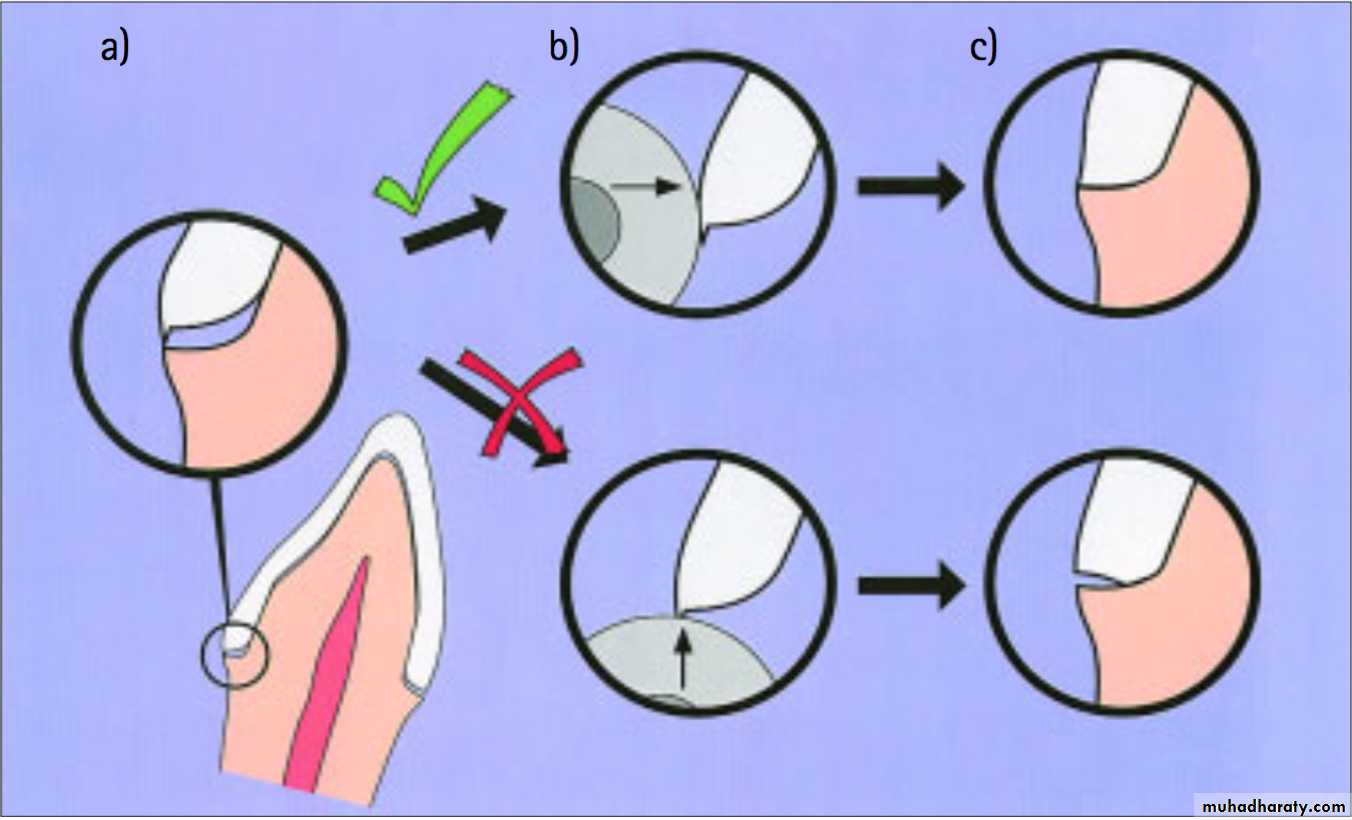
a) Marginal discrepancy caused by an overextended lingual margin; b) Reduce the overextension from the axial surface not from underneath; and c) Seating achieved with the axial bulk removed, incorrect adjustment results in a deficient margin
3- Stability
The restoration should then be assessed for stability on the prepared tooth. It should not rock or rotate when force is applied. Any degree of instability is likely to cause failure during function. If instability is caused by a small positive nodule, this can usually be corrected; however, if it is caused by distortion, a new casting is necessary.4- Occlusal adjustment
Only restorations in supra occlusion can be adjusted. For those that are out of occlusion, there is no satisfactory solution other than remaking (if in metal) or adding porcelain and re firing (if a metal ceramic restoration).To provide a basis for comparison the patient is instructed to close into the customary position of maximal intercuspation with the restoration removed. The position of the teeth and the completeness of closure and contact are noted.
• A pair of teeth near the prepared tooth where the patient can hold a strip of 13 µm shim stock is located.
• The restoration is inserted and it is determined whether the patient can still hold the shim between the same pair of nearby teeth, if not the crown is high in the intercuspal position.
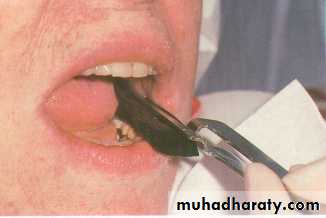
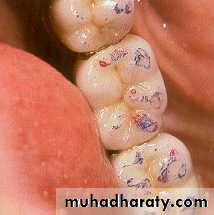
Mark any interferences that are detected. Have the patient close on articulating ribbon or tape.
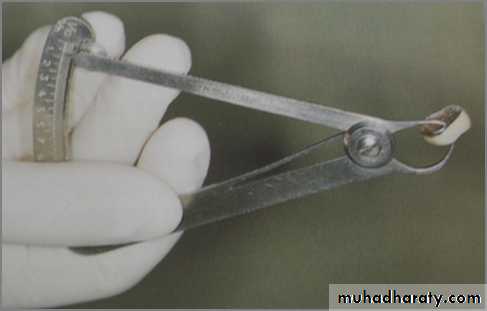
Adjust the marked interferences with the
diamond rotary instrument or white stone, always checking the thickness of the casting with calipers before an adjustment is made.
Use two colors of ribbon for the different types of movement. Excursive movements and interferences are first marked in one color (e.g., green or blue ).
Then a different color (e.g., red) is inserted for centric contacts. Any excursive interferences (i.e., green marks not covered by red) are adjusted with the diamond or white stone.
Characterization and glazing.
ContoursImproper contours may impair gingival health and detract from a natural appearance. They must be corrected before cementation, excessive convexity near the gingival margin promotes accumulation of plaue.
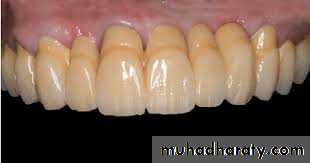
Esthetic
The restoration should be viewed from a conversational distance to determined if its contours harmonize with the rest of the patient's dentition.
The patient should be allowed to look in a mirror so that any objections to the appearance can be dealt with before the restoration is cemented.
Surface texture characterization
When the contour of the restoration has been finalized, the next goal is to duplicate the surface detail of the patient’s natural teeth.
Dry the teeth, and examine their surfaces carefully.
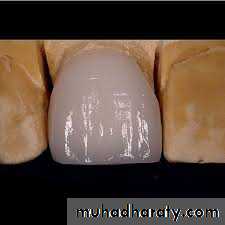
Perikymata and defects can be simulated by grinding the porcelain with a diamond stone of appropriate texture. (Be careful not to overemphasize such details.) Flat or concave areas reflect light in a characteristic manner, producing highlights.
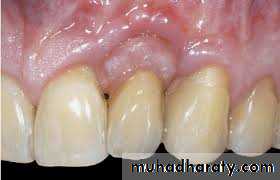
Special illusions
An FDP pontic may be very long because of loss of supporting bone. Simulating a root surface can partially improve the appearance. The root extension is contoured for length and width, and then an orange-brown mixture is placed over the extension. Pink stain can be used to simulate gingival tissue, but results are better with pink body porcelain.
Stained crack line Cracked enamel stains quickly on natural teeth. An orange-brown mixture applied in as thin a line as possible will effectively simulate a crack.
CEMENTATION
The mechanisms that hold a restoration on a prepared tooth can be divided into: non-adhesive (mechanical) luting, micromechanical bonding, and molecular adhesion.Bonding Mechanisms
Non-adhesive lutingserved primarily to fill the gap and prevent entrance of fluids
Molecular adhesion
involves physical forces and chemical bonds between molecules of two different substancesMicromechanical bonding
necessary deep irregularities can be produced on enamel surfaces by etching with phosphoric acid solution or gel; on ceramics, by etching with hydrofluoric acid; and on metal, by electrolytic / chemical etching, and sandblasting
TYPES OF CEMENTS
1. Zinc Phosphate Cementpossesses high compressive strength
exhibits a pH of 3.5 at the time of cementation which contributes to pulpal irritation
needs cavity varnish to reduce exposure of pulp to the cement

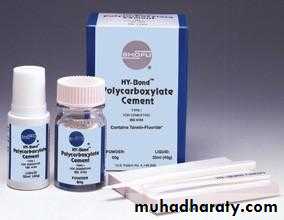
2. Polycarboxylate Cement
higher tensile strength (resistance to lengthwise stress)pH is also low (4.8)
cause little pulpal irritation
shows moderately high bond strength to enamel and dentin
bonds to stainless steel, but not to gold
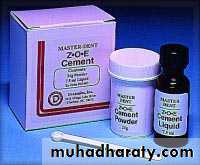
3. Zinc Oxide Eugenol
cause no pulpal inflammation as long as they make no direct contact with the pulpused as temporary cements
more soluble than zinc phosphate
deteriorates more rapidly in the mouth than other cements
4. Glass Ionomer Cement
composed mainly of calcium fluoro-aluminosilicate glasscompressive strength and tensile strength are quite good
bacteriostatic
releases fluoride at a greater rate than silicate cement
pH is lower than zinc
phosphate which
cause post cementation
hypersensitivity
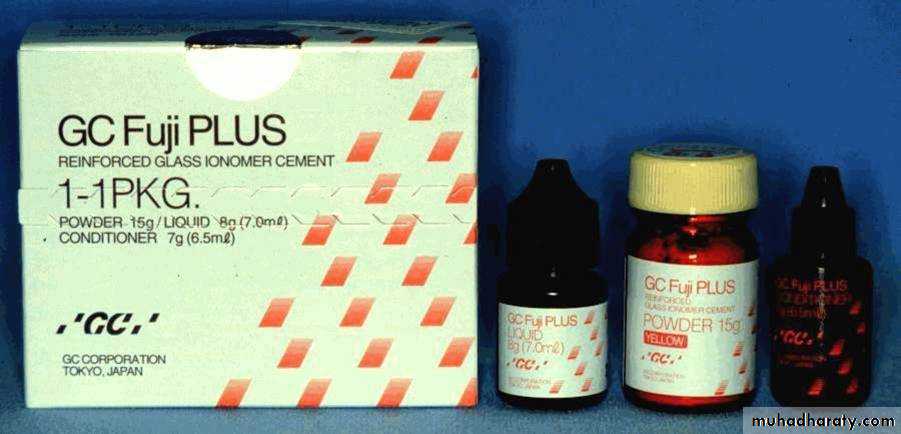
-varnish is not recommended
-weakened by earlyexposure to moisture
5. Resin Luting Cement
composed of resin matrix and a filler of fine inorganic particleslow filler content and low viscosity
virtually insoluble and much stronger than conventional cements
high tensile strength makes them useful for micromechanically bonding etched ceramic veneers
dentin bonding agent is necessary prior to resin cement application
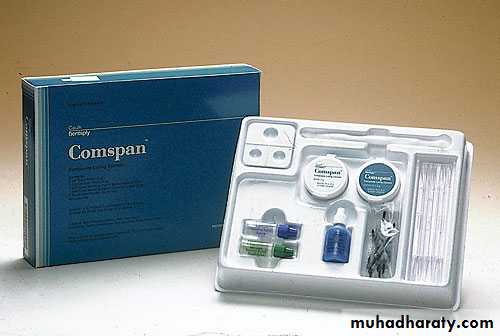
-problems encountered include excessive cement film thickness, marginal leakage because of setting shrinkage, and severe pulpal reactions when applied to vital dentin
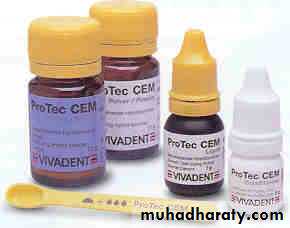
6. Hybrid Ionomer Cements
glass filler particles react with the liquid during the hardening processcombined the strength and insolubility of resin with the fluoride release of glass ionomer
STEPS IN CEMENTATION
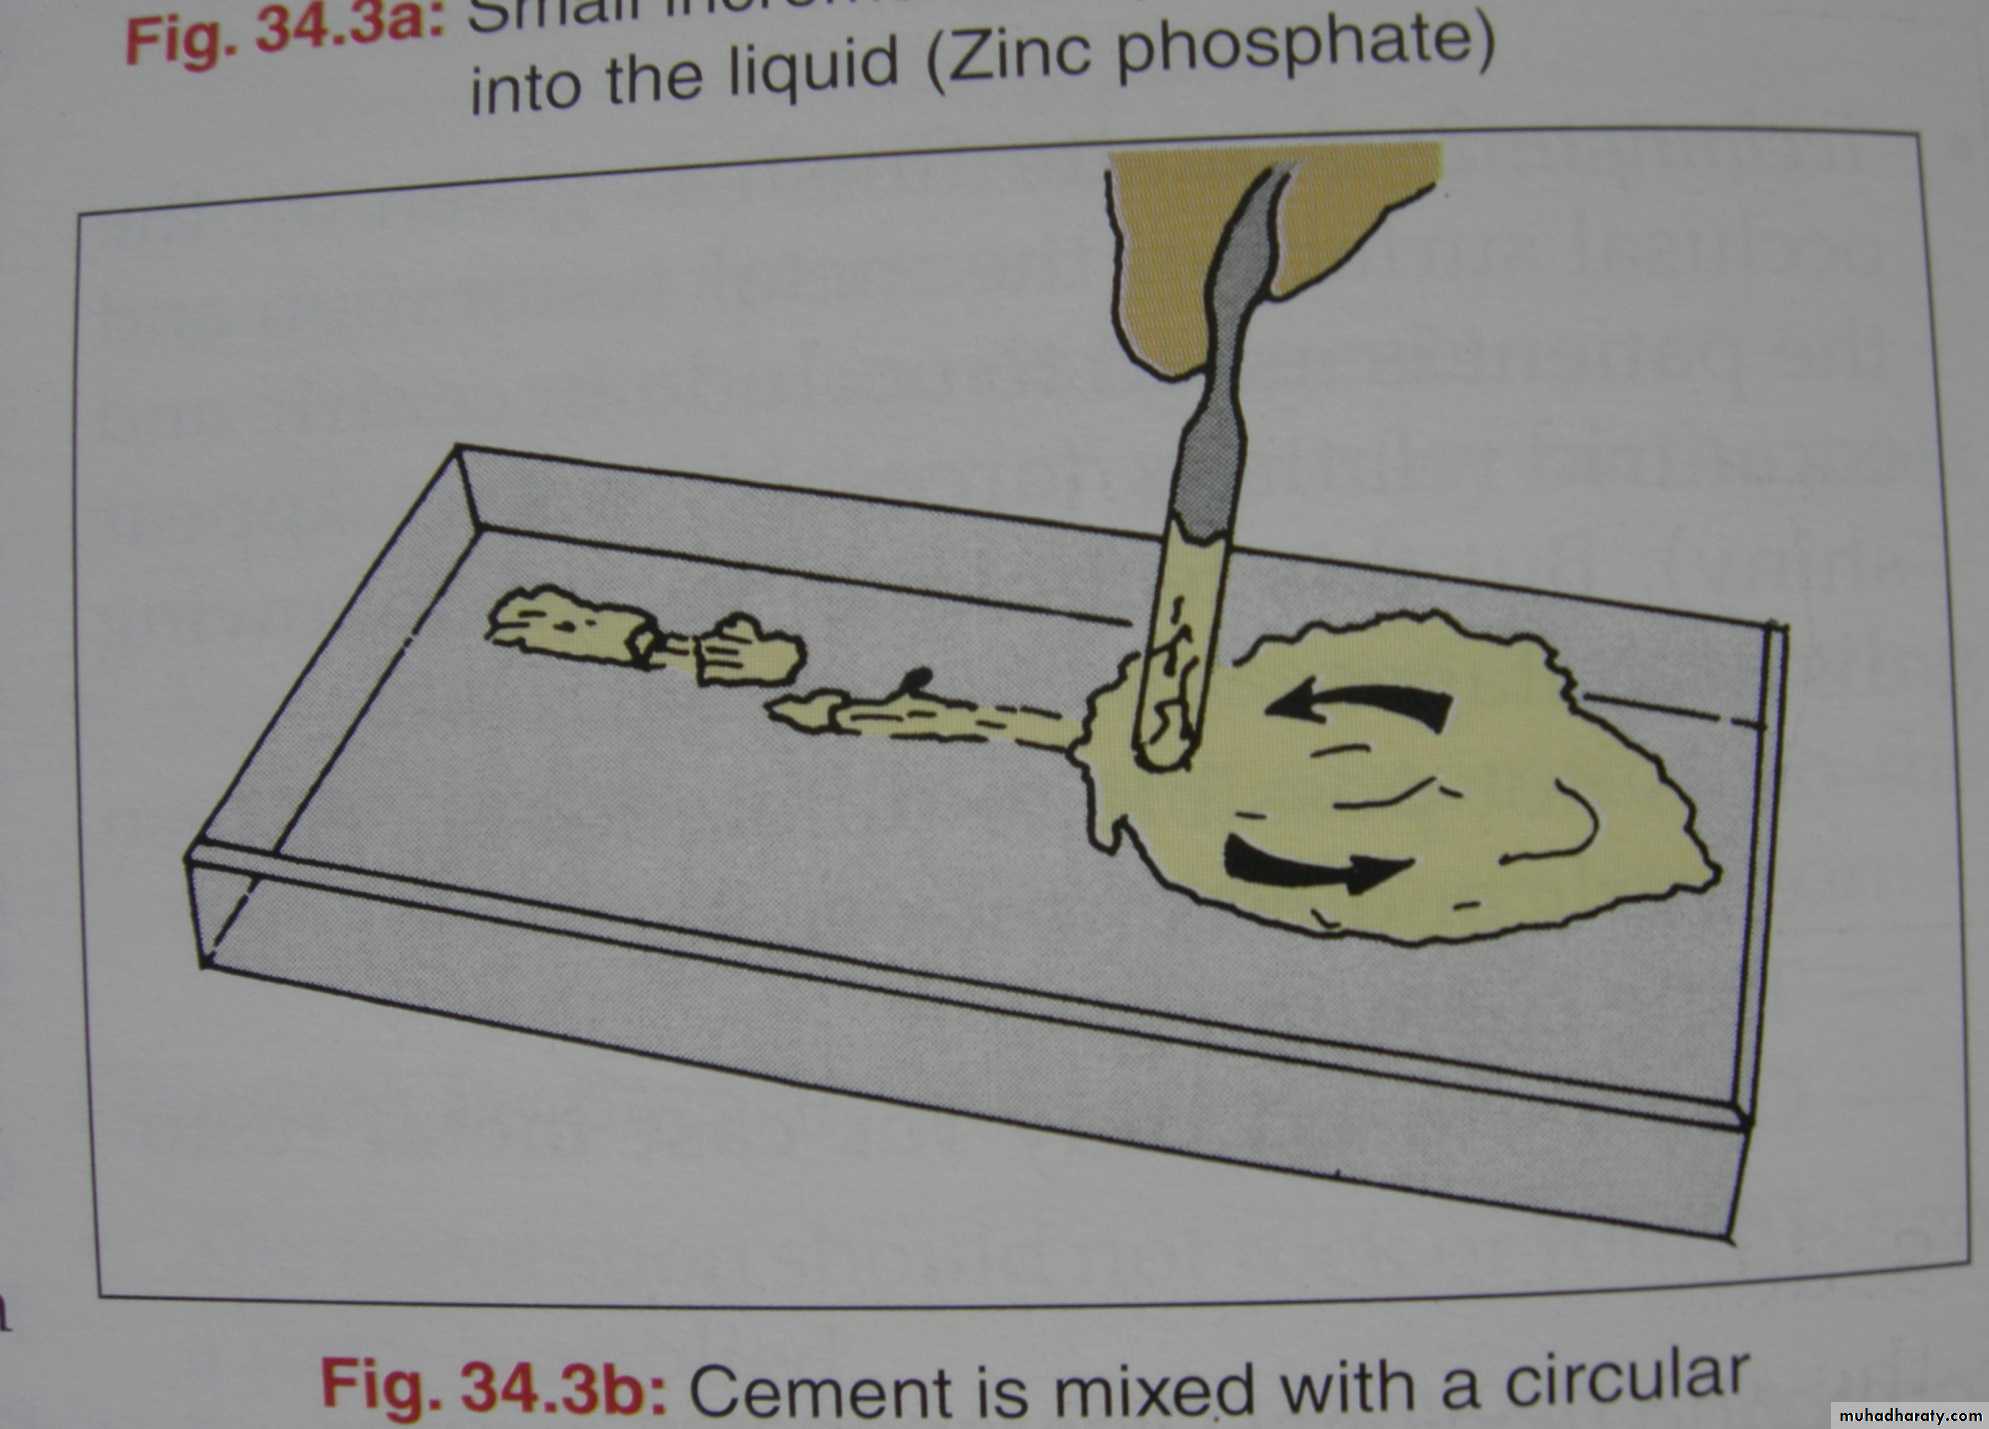
Mix the cement in circular motion
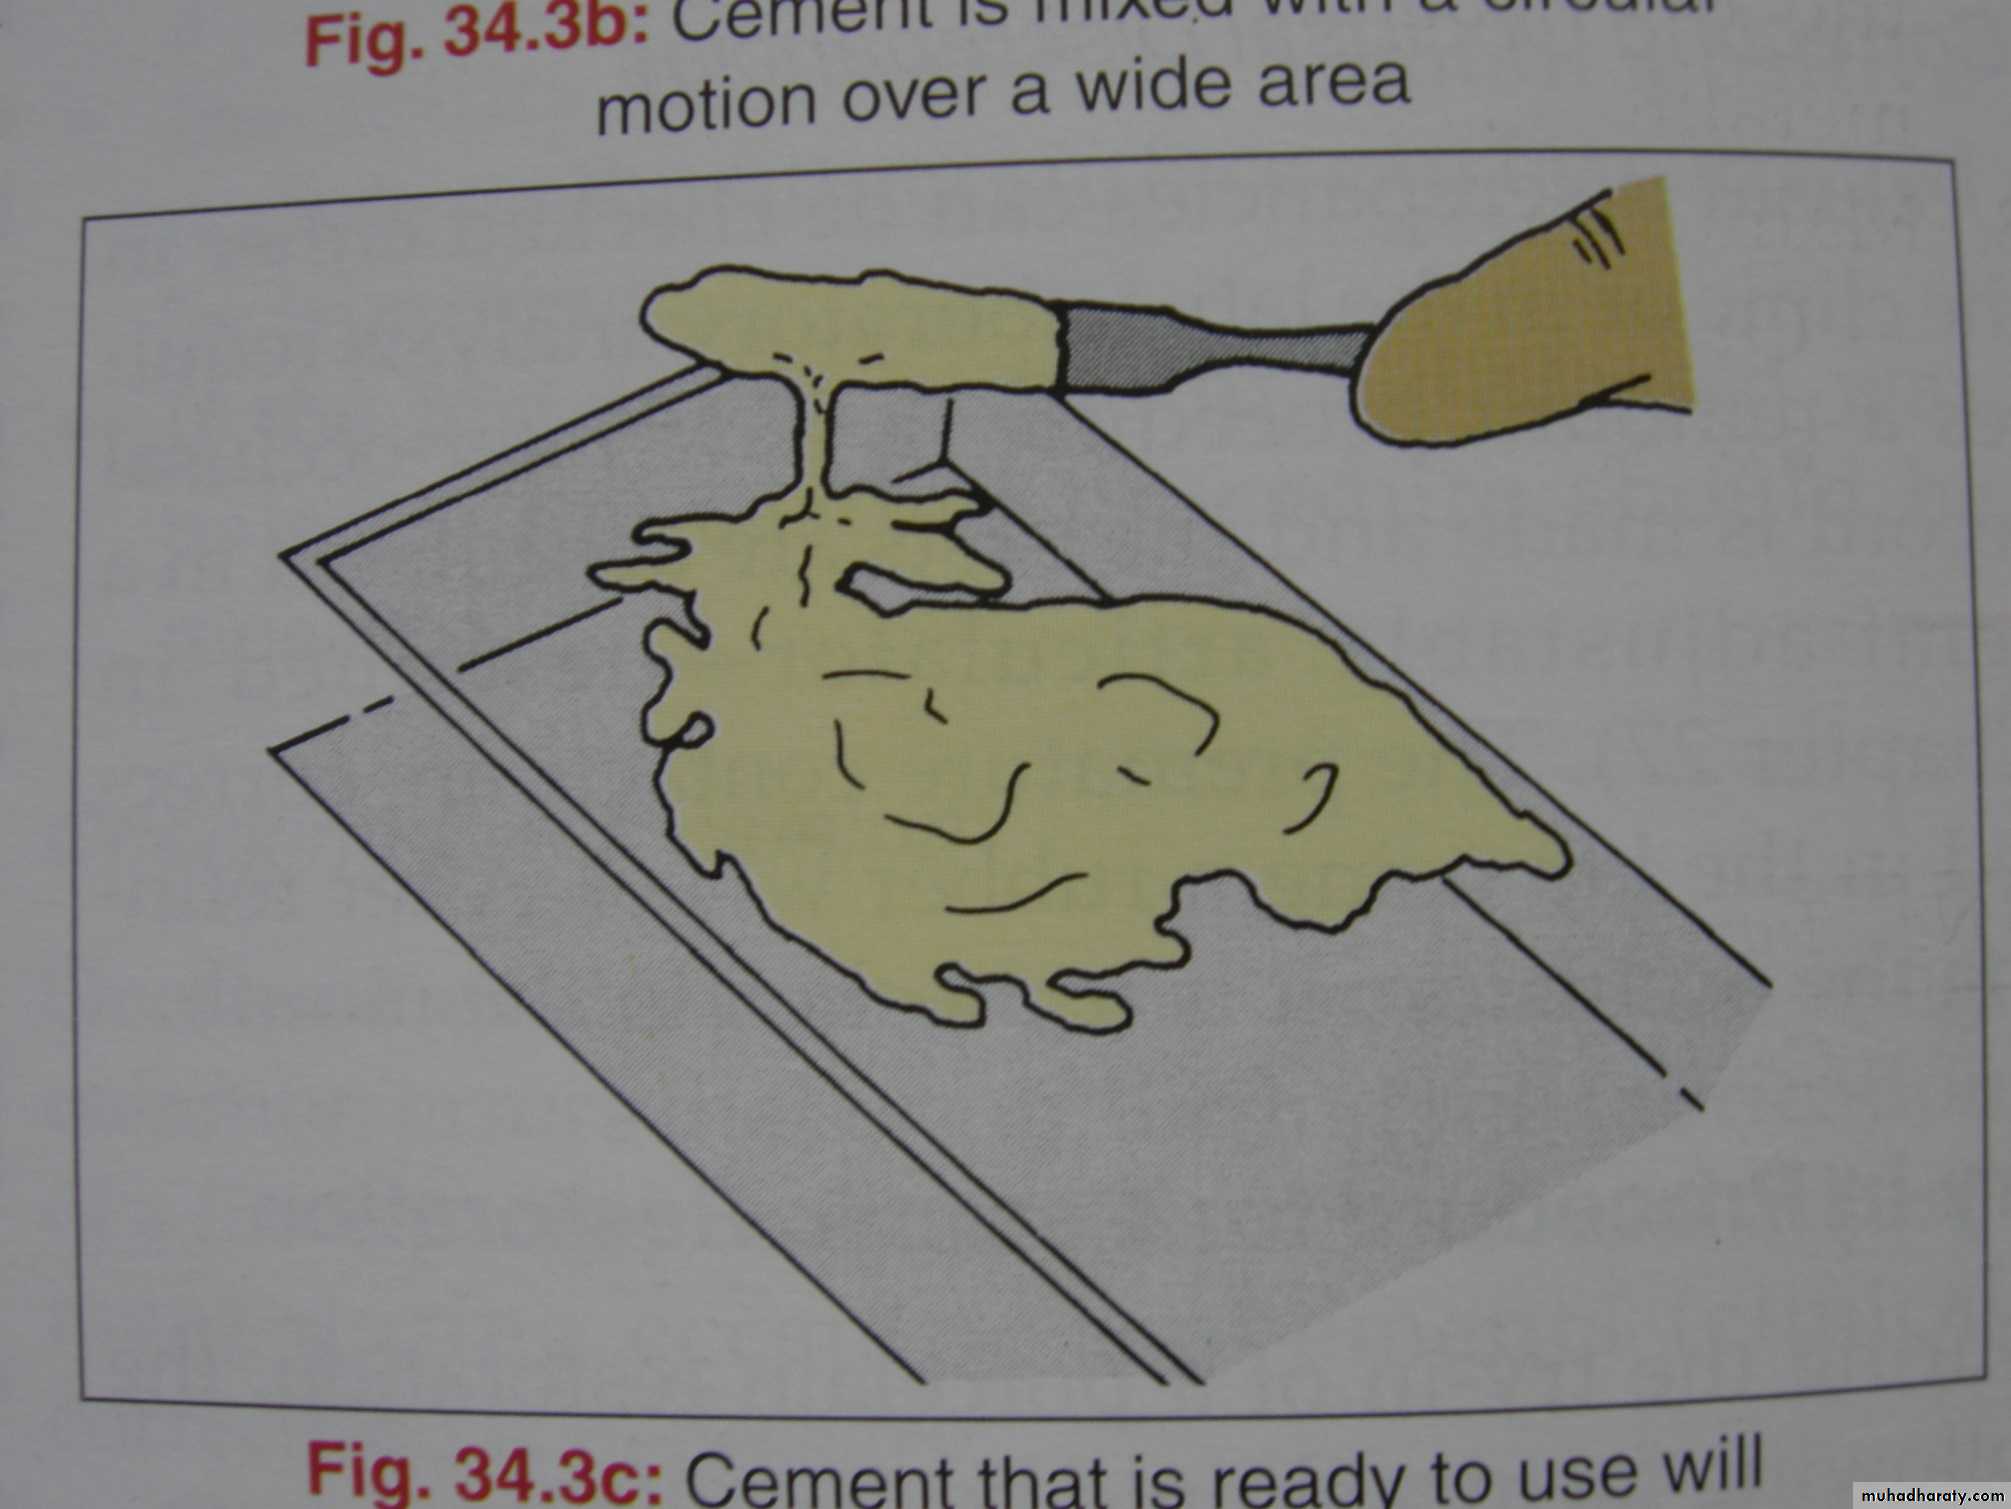
Consistency of the cement should not be too flowy or too sticky
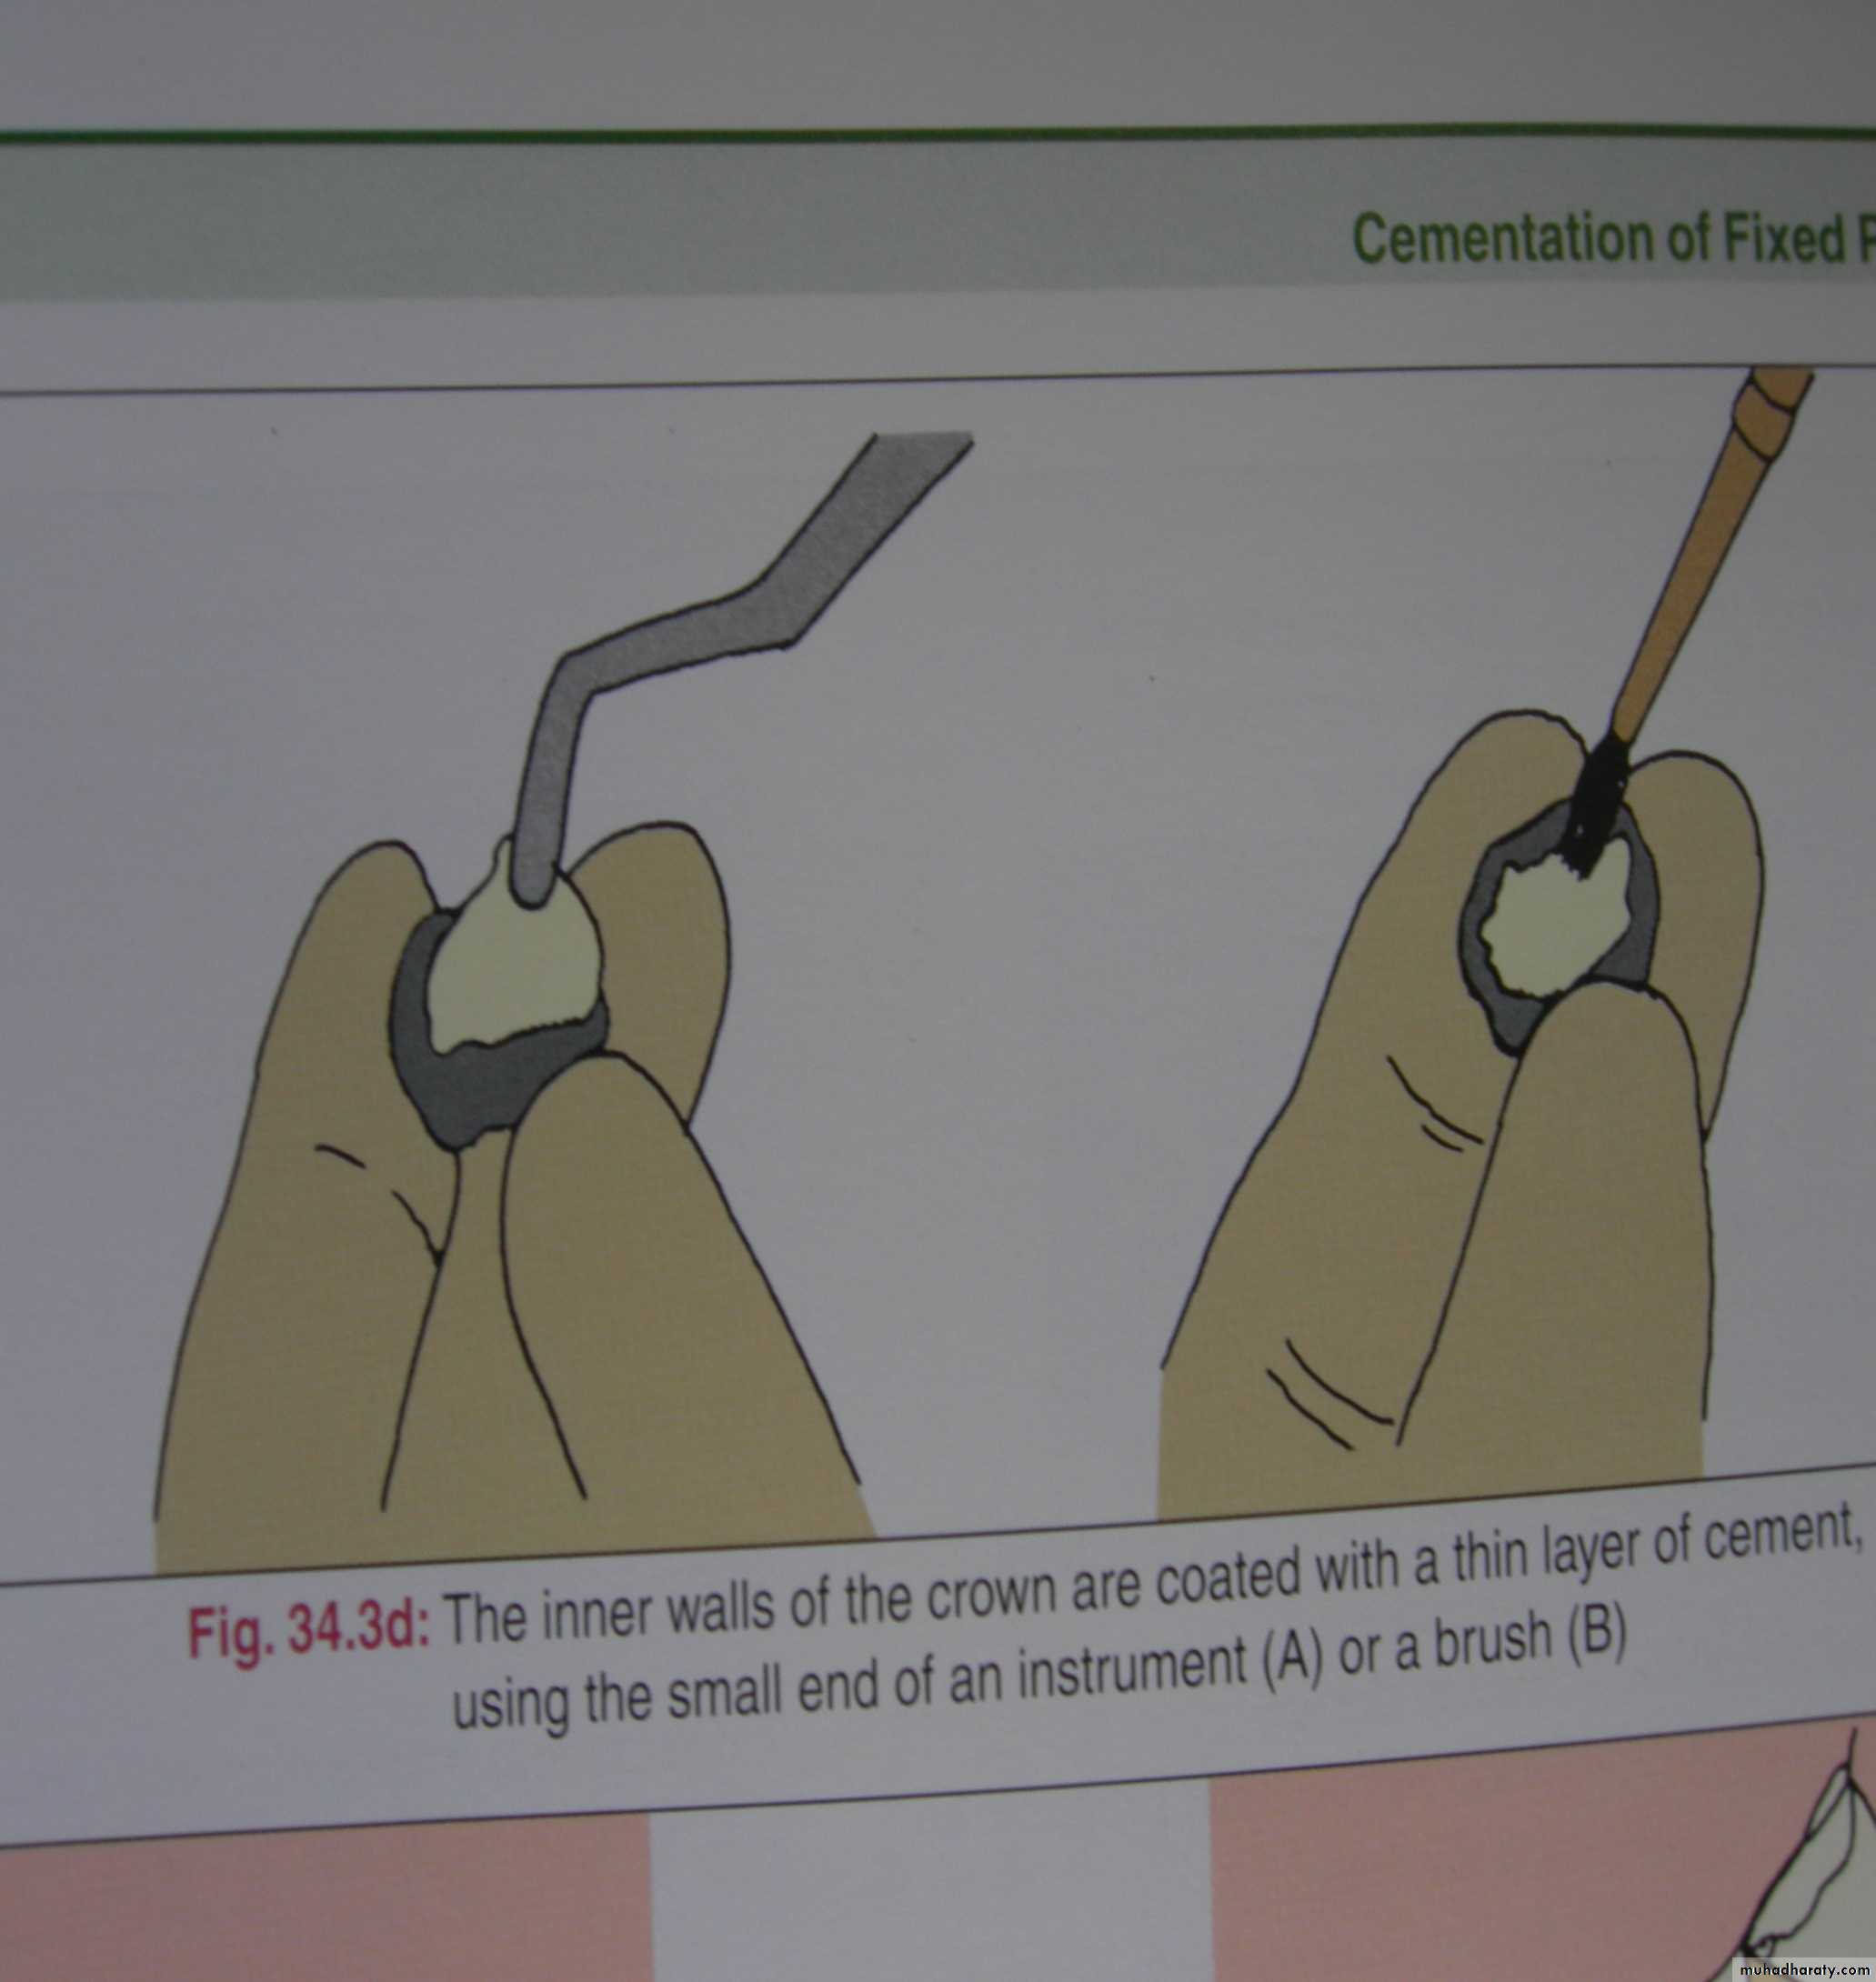
The inner walls of the crown are coated with a thin layer of
cement using the small end of an instrument (A)or a brush (B).
A
B
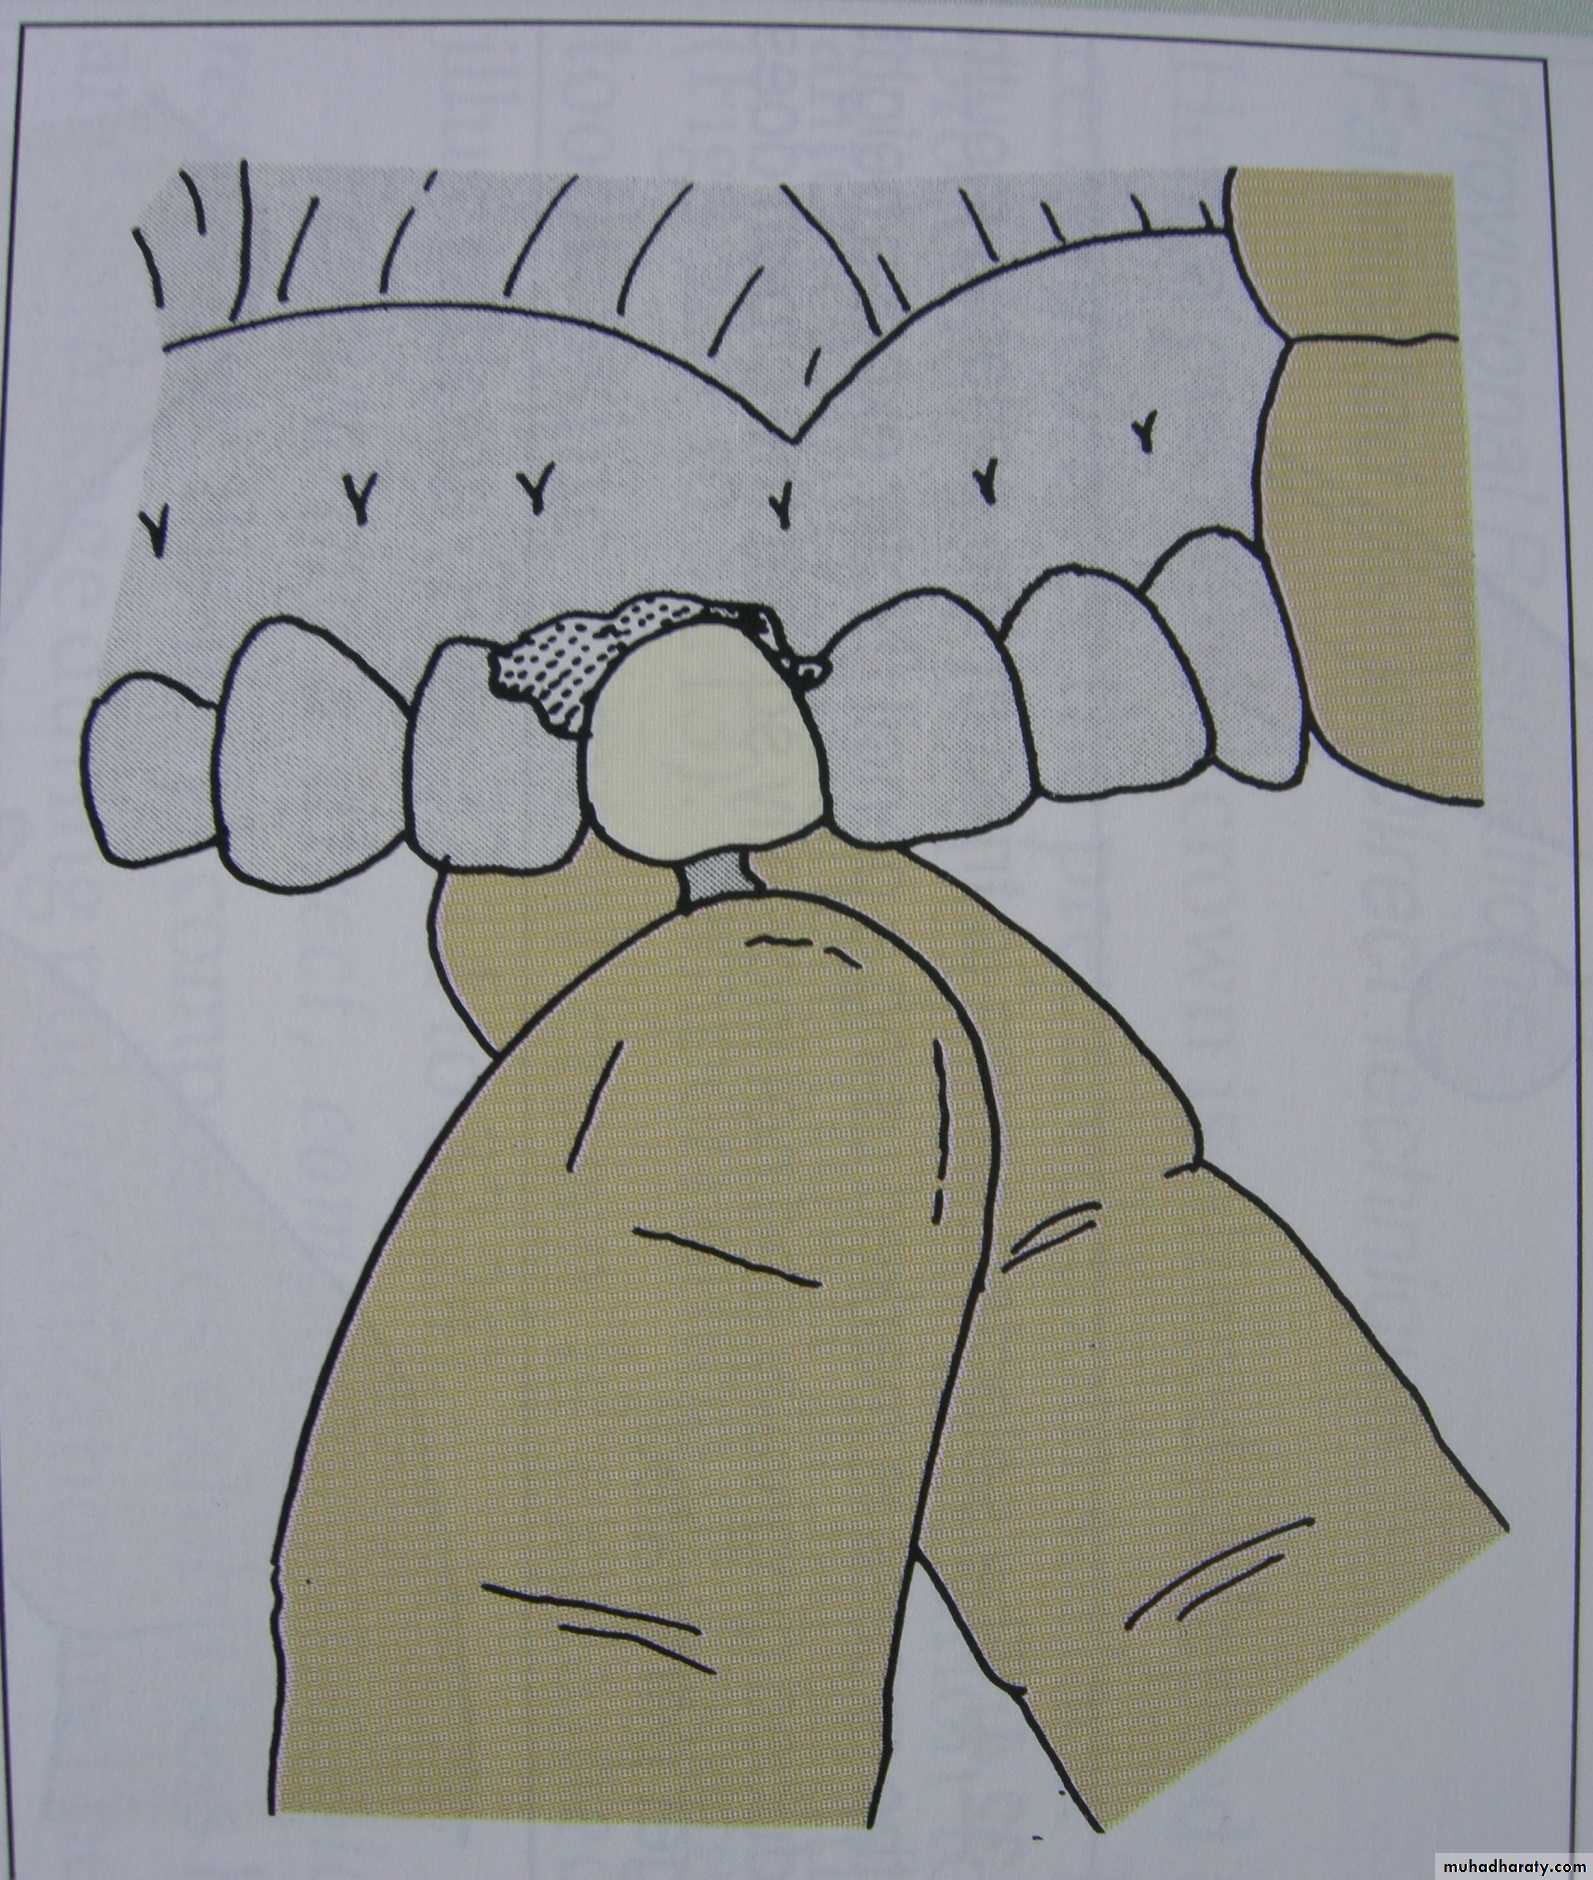
Insert the crown on the abutment
Remove excess cement
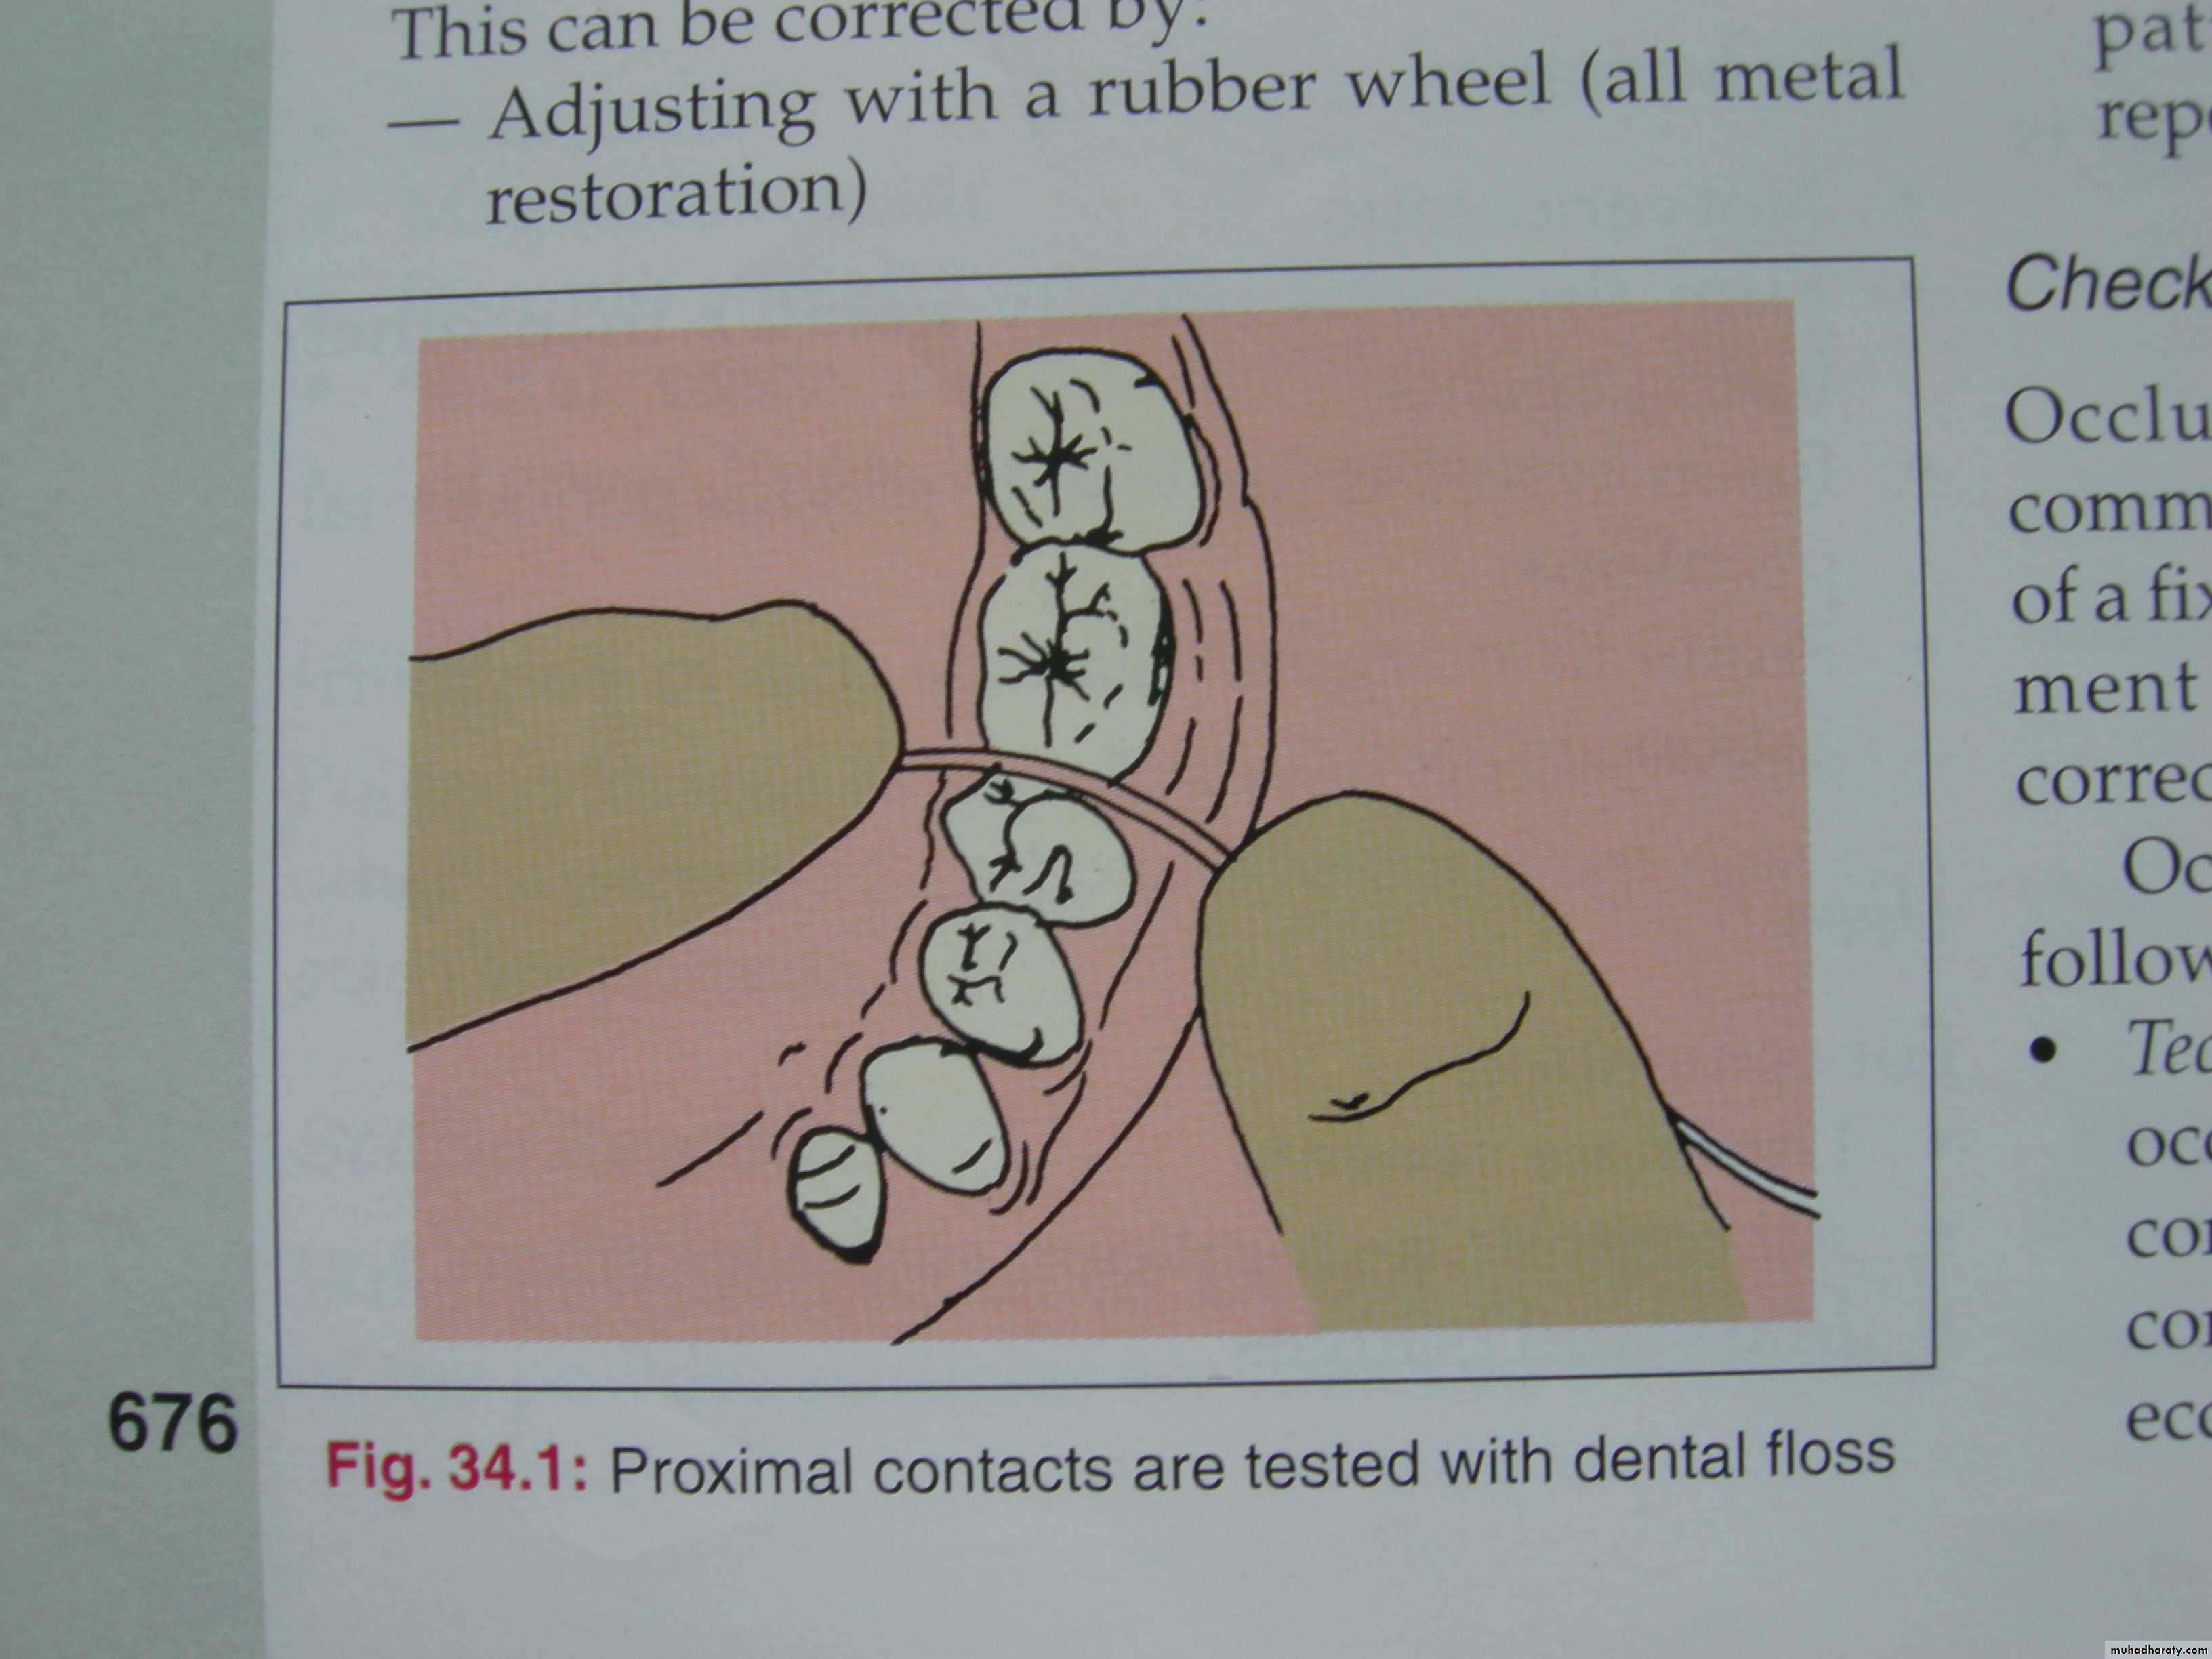
Proximal contacts are tested with dental floss to remove excess cement and ensure proper interproximal spaces in between teeth